

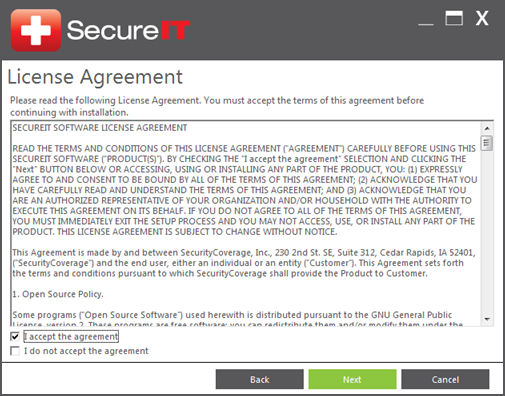
Read through the Terms and Conditions, click ‘I accept agreement’, then click ‘Next’.
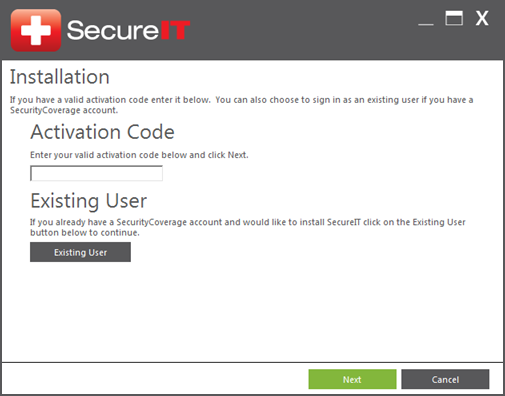
Enter your Activation Code, or select Existing User if you already have a registered account.
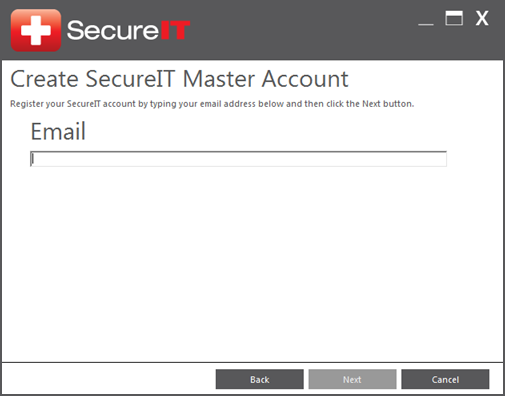
To register SecureIT, enter your email address and click ‘Next’.
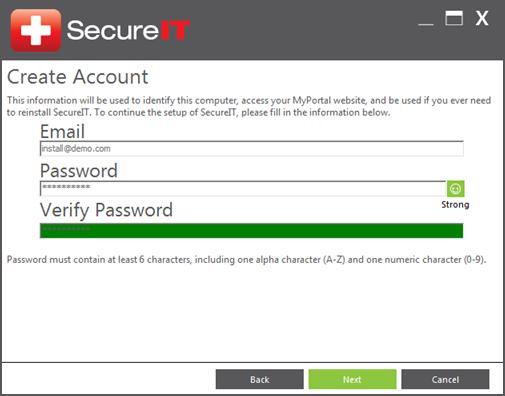
Next you’ll need to create a password for your account.
The password must contain at least 6 characters, including one alpha character (A-Z)
and one numeric character (0-9). It is advised you create a strong password using upper case
and lowercase letters.
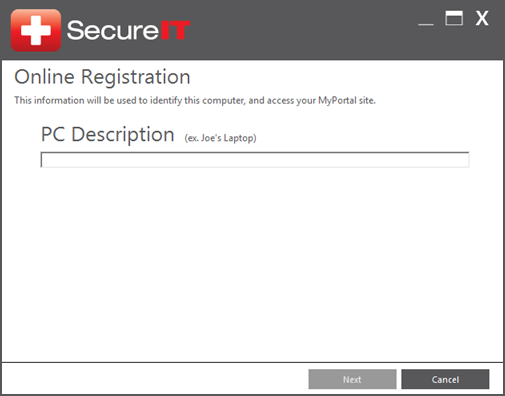
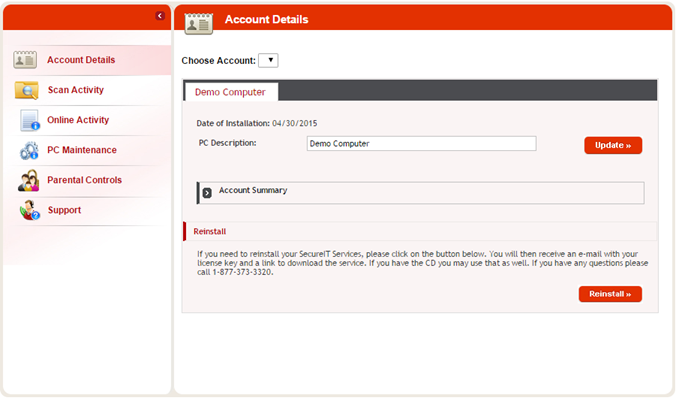
Next you will need to enter in a PC Description. This is used to identify the computer.
SecureIT will complete a quick system scan to make sure everything is in place for the software to be installed.
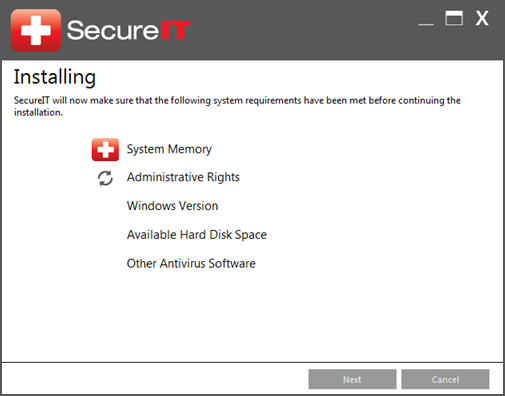
When finished, all the necessary SecureIT files will be copied to your computer.
Once that is complete, simply click ‘Finish’ and SecureIT is now installed!
If the SecureIT console is displaying a yellow or red status, a message will appear underneath the status that explains the exact issue. Each status may display different messages.
The available PC Security statuses are:
Red: Indicates a portion of the software is disabled and the issue is critical to the security of the computer.
Yellow:Indicates that either the anti-virus definitions or the SecureIT product version are out of date.
Green: Indicates that all modules are currently active and SecureIT is completely up-to-date.
Grey: Indicates there was an issue connecting to the update server due to network issues or lack of an Internet connection.
The available Windows Update statuses under the Tune Up panel are:
Red: Indicates that the Windows Update service is not running, or is not set to automatically check for updates.
Green: Indicates that the Windows Update service is running properly and is set to automatically check for updates.
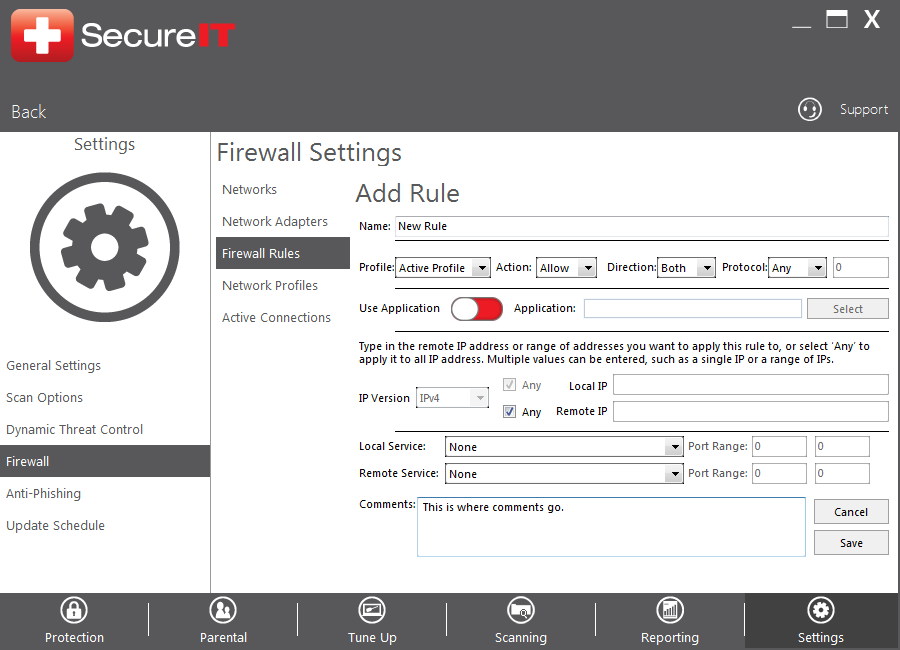
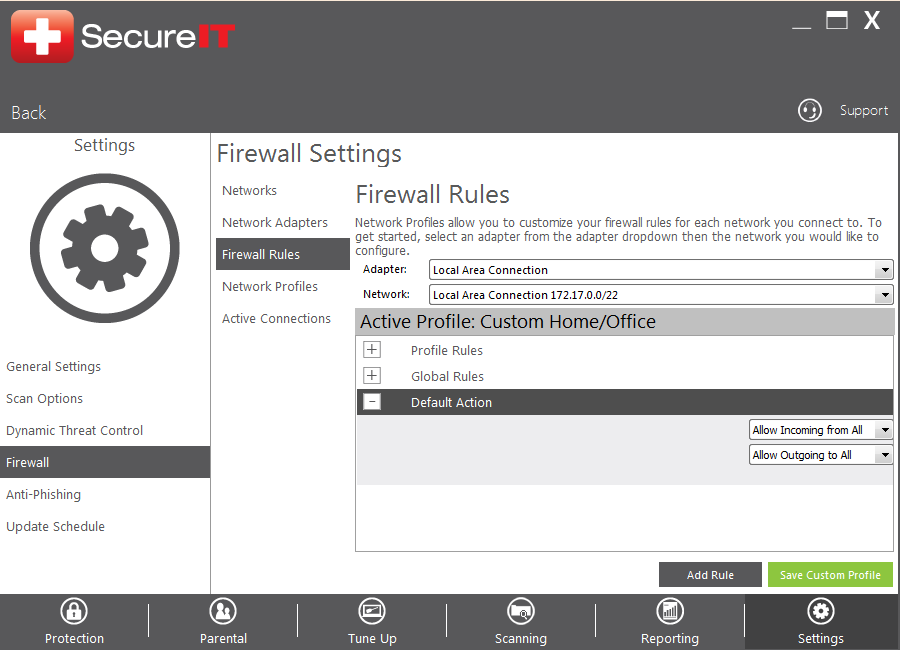
To create a firewall rule to allow or block certain traffic, open the Management Console and click on the Settings panel. Next click Firewall in the left-hand menu, then the Firewall Rules tab on the side.
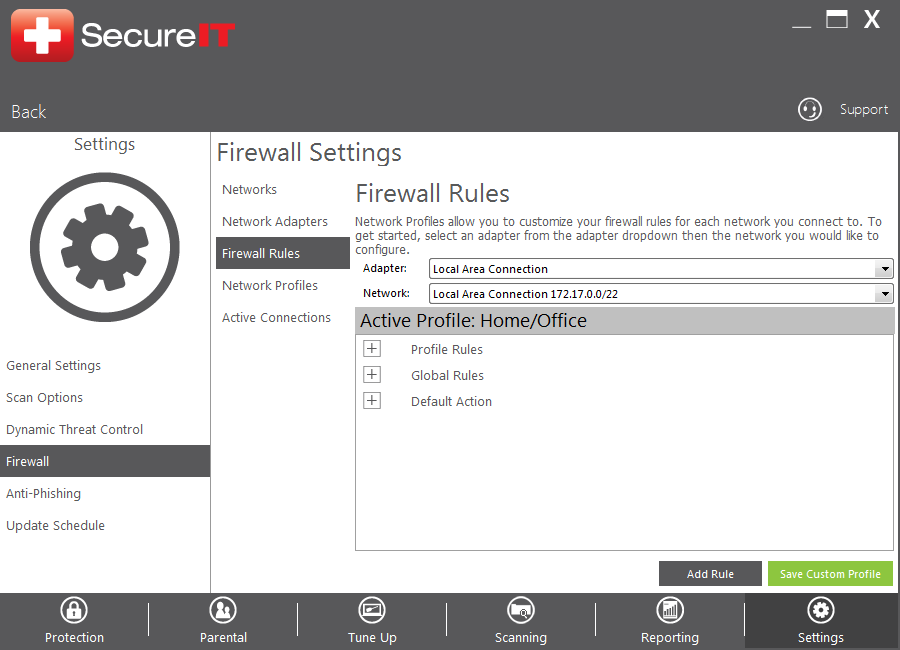
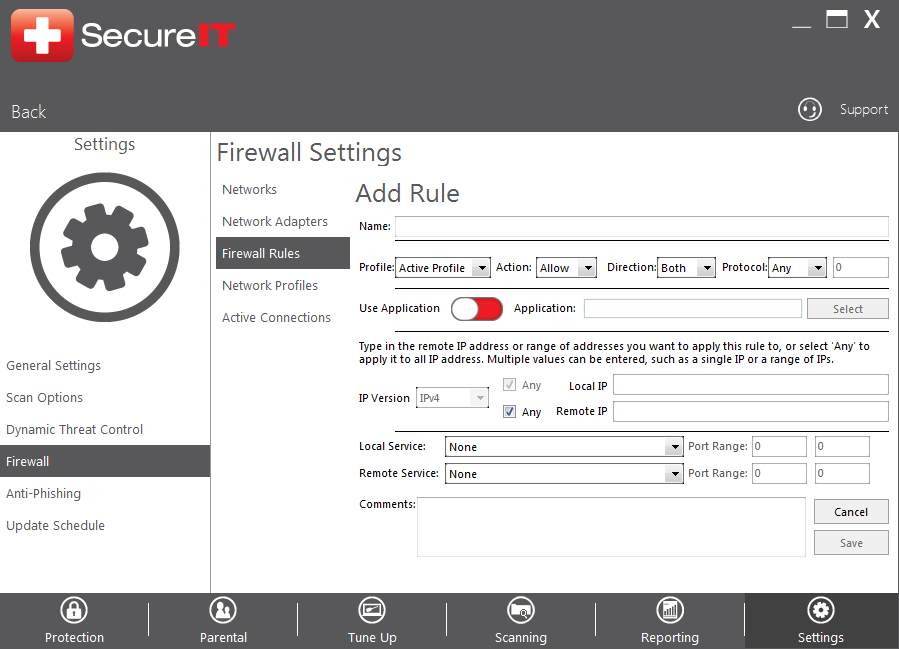
You can use the options on this screen to manage firewall rules to allow or block specific types of traffic. Rules can be created for a specific network or globally. Use the “Add” button to create a new rule. When creating or editing a rule, a new window will open requesting the following information:
Name: The name you wish to give for this rule.
Profile: Specify which network adapter this rule should apply to or if it should be global.
Define what action: Specify whether this rule should allow or block traffic.
Direction for traffic: Specify whether this rule should affect incoming, outgoing communications or both.
Protocol: Where you choose TCP, UDP or Any for the type of network protocol that the rule should apply to.
Use Application: Choose an application that this rule should apply to (useful for allowing or blocking particular programs).
IP Version: Specify IPv4, IPv6 or Both as the type of IP address the rule should apply to.
Local and Remote IP: Allows for the entry of specific IP addresses.
Local and Remote Service/Port Range: Choose from the service dropdown to select a specific service or create a custom service and port range.
Comments: Enter any comments that may help define or explain the rule. these will show up as a pop-up hint when the mouse hovers over the rule.
A custom profile can be saved after the creation of firewall rules, which allows the rules to easily be applied to other networks.
To view the items SecureIT has quarantined as threats, as well as web sites that have been blocked by anti-phishing or parental controls, open the Management Console and click on the Reporting tab.
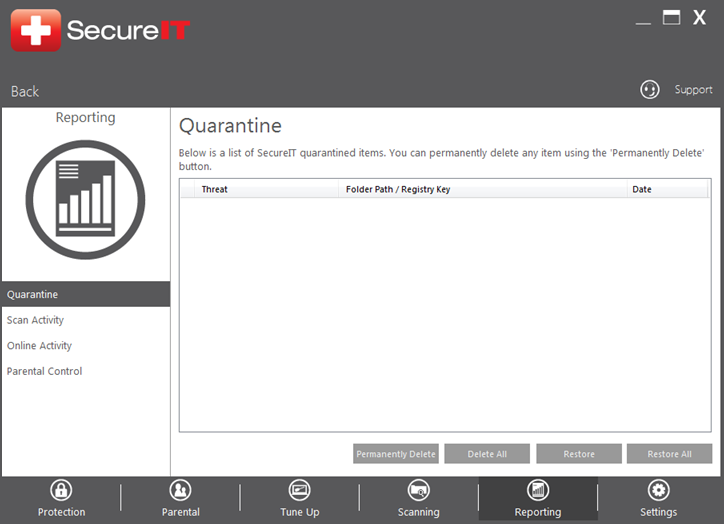
The Quarantine screen will appear. Items that have been detected by SecureIT will appear in this screen. Each item will display the location in which it was found, as well as the name of the detected threat. Use the options within this screen to manage the items that are currently in the Quarantine, and restore or delete them if desired.
Note that using the “Permanently Delete” or “Delete All” buttons will cause a prompt to appear asking if you are sure you wish to delete the selected items. These items will be completely and permanently removed without a chance for a backup. If you are unsure about deleting an item, simply leave it in the quarantine; as long as it is there, it cannot do any harm.
To view a history of all scan activity, click Scan Activity in the left-hand menu.
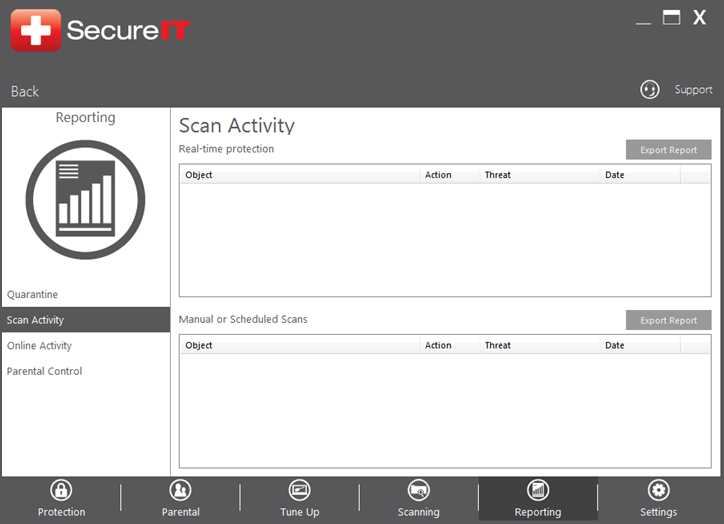
Here you can view items that were detected by the real-time engine, as well as those detected by manual scans. Each item will be designated with its original location, the action taken on it, the name of the threat, and the date the item was detected.
To view traffic that has been blocked by the firewall and sites that have been blocked by anti-phishing, click Online Activity in the left-hand menu.
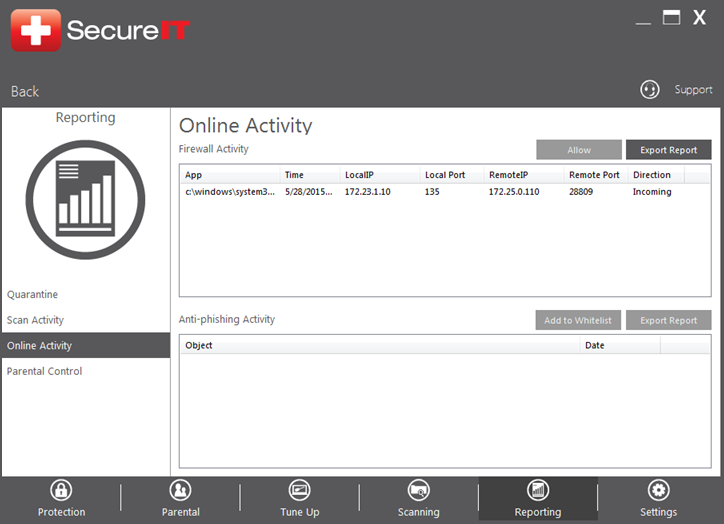
Here you can view items that were blocked by the firewall, as well as items detected by the anti-phishing engine. Each item will be designated with its original location, the action taken on it, the name of the threat, and the date the item was detected.
To allow an item that had been blocked by the firewall, select the item and click “Allow.”
To allow an item that had been blocked by the anti-phishing protection, select the item and click “Add to Whitelist.”
SecureIT Plus users can also view a log of items that have been blocked by parental controls by clicking Parental Control in the left-hand menu.
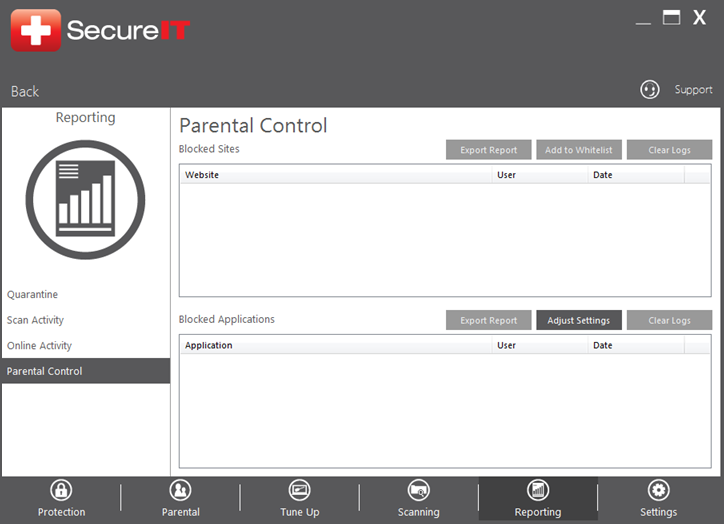
The Blocked Sites screen displays the web sites that have been blocked by Parental Controls. You may also click the Clear Logs button to clear the current view.
The Blocked Applications displays the name of the applications that were blocked, the user it was blocked for, and the date and time of the occurrence.
To manually run a scan with SecureIT, open the Management Console and click the Scanning panel.
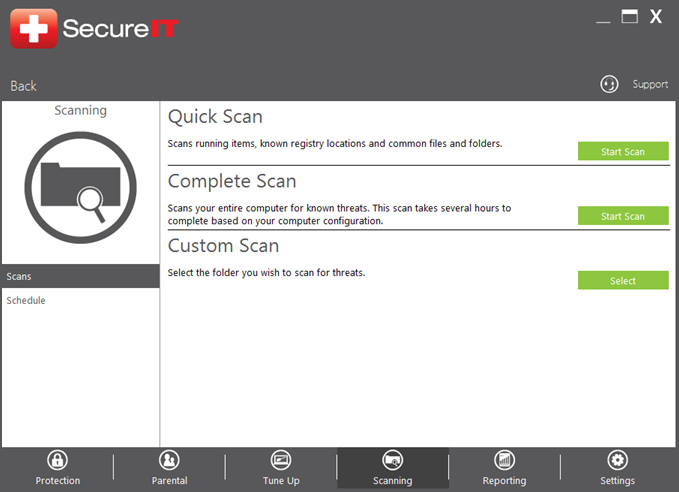
Here you can initiate the various types of SecureIT scans: Quick Scan (to scan common infection locations), Complete Scan (to scan the entire PC), or Custom Scan (to scan a particular location).
Quick Scan: Requests SecureIT to scan running items, known registry locations and common files and folders where malware is typically found.
Complete Scan: SecureIT will scan your entire PC, which may take several hours to complete depending on the speed of your computer and number of files to scan.
Custom Scan: Requests SecureIT to scan specified folders and locations. When this option is selected, a Select Folder window appears as described in the next step will appear; simply select the folder you wish to scan and click “OK” to start the scan.
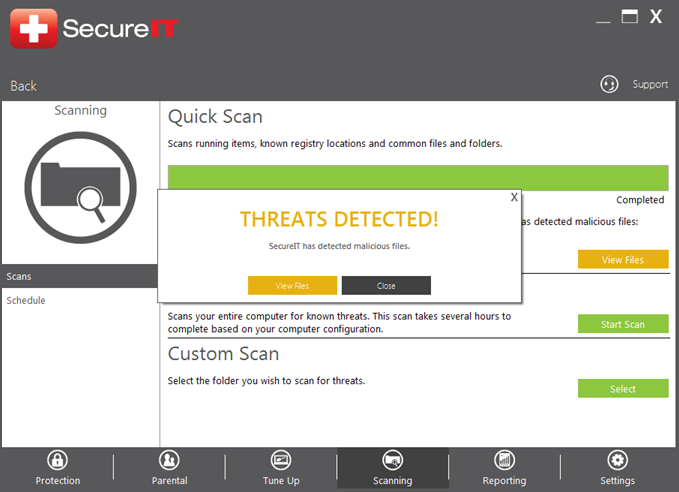
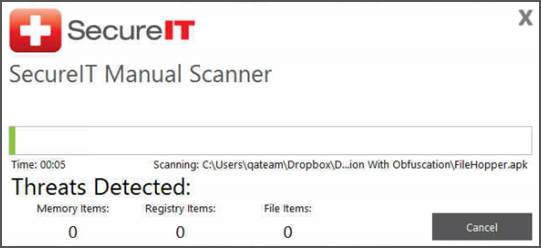
When a scan is started, you will see its progress in the screen similar to the example below:
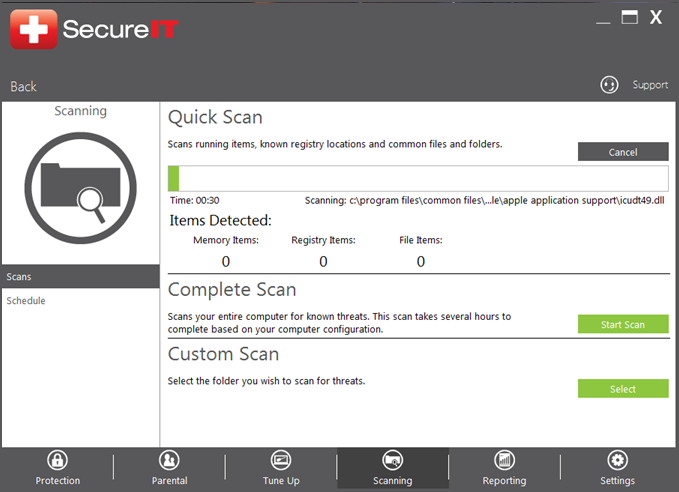
When complete, SecureIT will display a summary of what was found (if anything), and provide a link to the Quarantine page to view its contents if any items were quarantined.
To set up SecureIT to perform a scan at a designated time, open the Management Console and click the Scanning tab, then click Schedule in the left-hand menu.
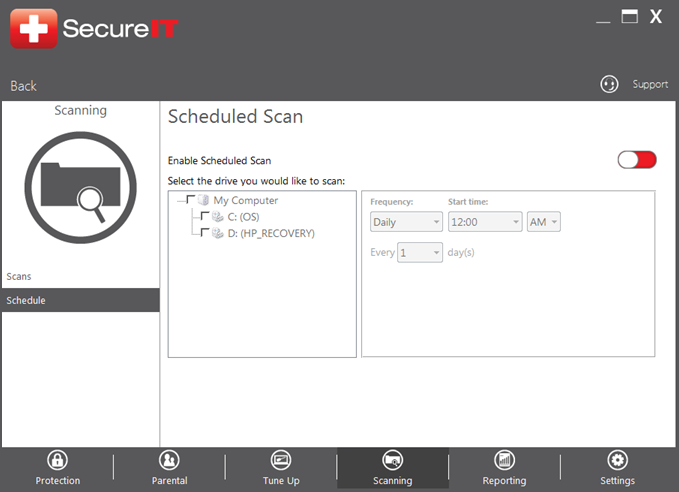
Here you can set a scan to run at a particular time. Select the drives you would like to have scanned, and then select the frequency and time of day the scan should run. If the computer is off during the scheduled time, SecureIT will automatically start the scan shortly after the next time the computer is powered on.
The scheduled scan is simply there for your peace of mind. SecureIT’s real-time protection is constantly monitoring the activity on your machine.
SecureIT Plus users can use the Tune Up function of SecureIT to run a defragmentation of your hard drives. This is run automatically by SecureIT on a regular basis*. However, you can manually defrag if you wish. To begin, open the Management Console, click the Tune Up panel, and then click ‘PC Maintenance’ from the left-hand menu.
*Note: If your computer contains a solid-state (SSD) drive, the defrag function will be disabled to prevent damage to your drive.
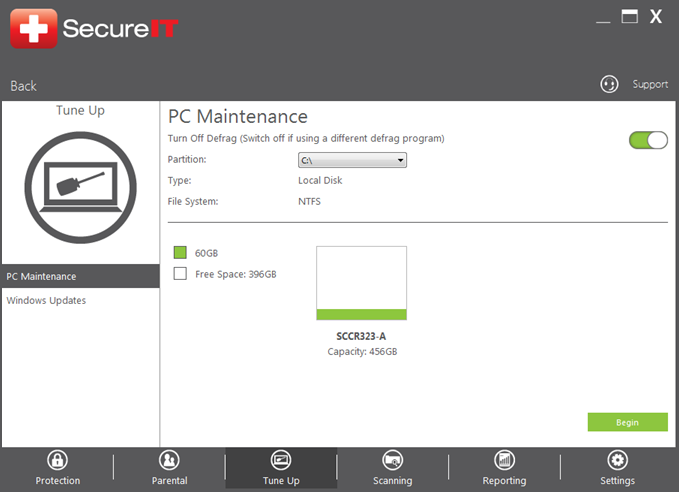
Choose the drive you would like to defrag from the Partition dropdown menu, and then click Start. The defrag process may only take a few moments or up to a few hours depending on the size of the drive and the amount of fragmentation.
The Windows Update function of SecureIT ensures that your computer is set to receive the latest updates to your operating system. Please note that SecureIT does NOT download and install Windows Updates for you, it simply ensures that the Windows Update service is enabled and set to the recommended settings.
Some customers may wish to disable Windows Update, or manage them yourself, without SecureIT overriding your personal preferences. To disable the Windows Update monitoring functionality, open the Management Console, click the Tune Up panel, and then click ‘Windows Updates’ from the left-hand menu.
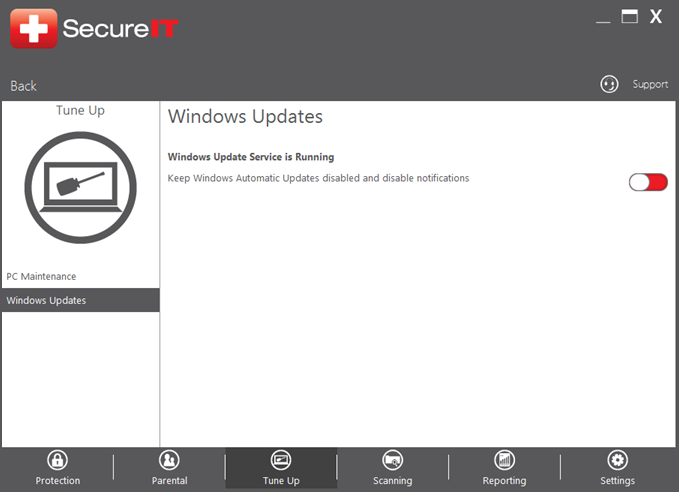
This screen will display the current status of the Windows Update service. If you do not want SecureIT to monitor and enable Windows Updates automatically, place a checkmark in the ‘Keep Windows Automatic Updates disabled and disable notifications’ checkbox. SecureIT will then show a green status for the Windows Update service (even if it is disabled) and will not automatically re-enable it if the ‘Resolve Now’ function is used.
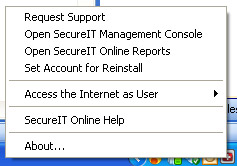
To access your online reporting page, right-click the SecureIT Control Panel icon located in the system tray (typically in the lower-right corner of your screen), and then click ‘Open SecureIT Online Reports’.
This will open your default web browser and log you in to your account.
Here you can view the reporting information submitted from your SecureIT product, including scan results, Parental Control alerts, and hard drive information.
You can also manually log in to your account from any Internet-connected computer by visiting myportal.securitycoverage.com.
SecureIT includes a handy scanning feature called the Context Scanner, which gives you a quick and easy way to scan any files or folders on your computer. To do so, simply right-click on the file or folder you want to scan, and then click ‘Scan with SecureIT’ from the context menu. The Context Scanner window will appear and begin to scan.
The Context Scanner follows the same settings as a manual scan. Once the scan is complete, the results of the scan will be displayed. The scan may take a few seconds to an hour or more depending on the size and number of files to be scanned.
SecureIT is designed to offer the highest level of protection ‘out-of-the-box’ without any need for initial setup or customization. However, it does offer a lot of powerful options for advanced users. To edit your scan settings, open the Management Console, click the Settings panel, and then click on Scan Options from the left-hand menu. You can then choose whether to edit the Real-Time Settings (related to the always-on virus monitoring) or Manual Settings (related to scans manually initiated by you).
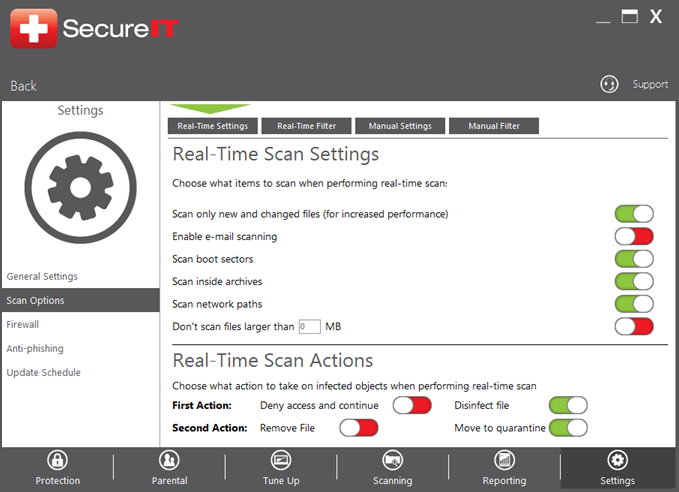
Here is a description of the general Real-Time scan settings that can be modified:
Scan only new and changed files – This option enables or disables the use of a cache file within the real-time protection module. It is highly recommended to keep this enabled for better computer performance.
Enable e-mail scanning – This option enables or disabled the ability to scan incoming and outgoing e-mail for malicious code or infected attachments.
Scan boot sectors – This option enables or disables the ability to detect infections in the boot sectors for drives installed on the computer.
Scan inside archives – This option enables or disables the ability to detect infections within some archive-type files (zip, iso, etc.). Note, this does not work with archives that are password-protected, nor with archives that use proprietary compression/decompression methods (rar for instance).
Scan Network Paths – This option enables SecureIT to automatically scan hard drives that are connected through a network, such as a shared drive.
Don’t scan files larger than – Using this option, you can specify whether files of a certain size or larger should be scanned.
You may also configure custom rules for how SecureIT should behave when it detects an infection. There are options to change behaviors for five different types of objects:
First Options:
Deny Access and Continue: This option means that SecureIT will prevent the items from installing or downloading
Disinfect File: This option means that SecureIT will allow the file to be downloaded, but will remove any malicious components of the file.
Second Options:
Remove File: This option means that SecureIT will remove all traces of the file from your computer.
Quarantine File: This option means that SecureIT will store this file in its quarantine folder so you can inspect it, delete it or restore it at a later time.
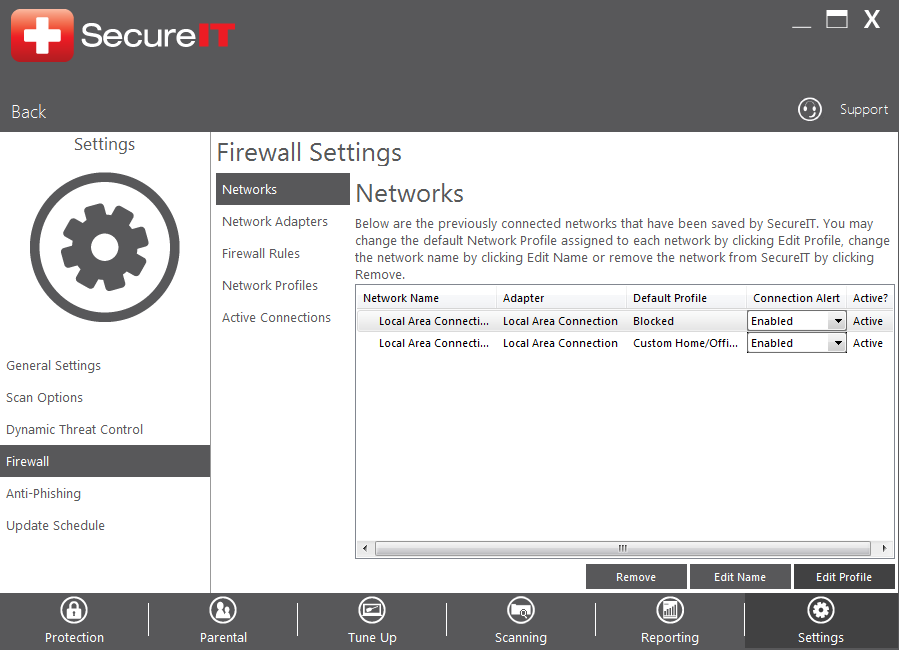
If SecureIT is blocking a printer or some other device on your network from connecting to your computer, sometimes it can be related to SecureIT’s network profile settings.
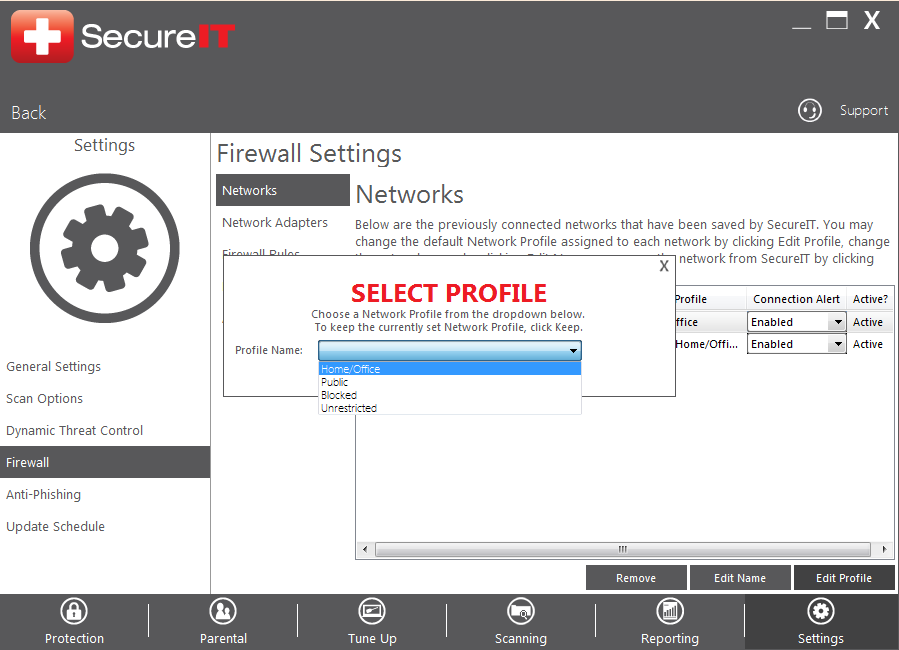
The first thing you will need to do is check to make sure that your SecureIT does not have the Network Profile set as ‘Blocked’. To do this, click on Settings, then Firewall. If the Default Profile set to the network marked as ‘Active’ says Blocked, select the network and then click Edit Profile, then choose one of the following profiles: ‘Home/Office’, ‘Public’ or ‘Unrestricted’ (You may also have previously saved custom profiles listed here) then click Save; if not, proceed to the next step.
Next, you need to check to see if there are any firewall rules listed and disable them if they are blocking what you are trying to do.
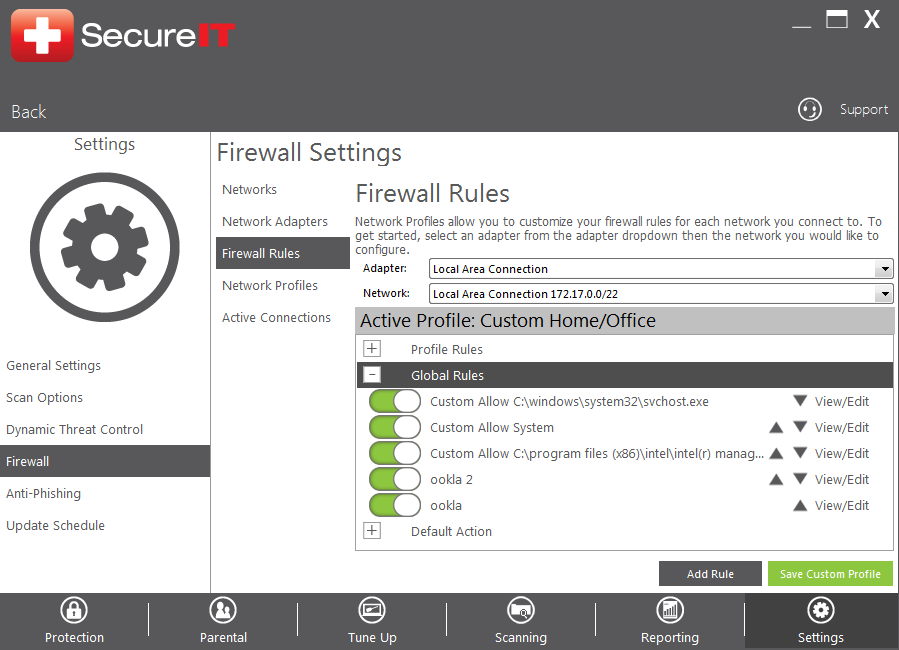
To do this, you’ll need to expand either Profile Rules or Global Rules select the rule by clicking on View/Edit and then click on Remove, or click the toggle next to the rule to turn it off. Green means the rules is enabled, red means that the rule is disabled.
After deleting any rules that may seem to be blocking what you’re doing, retry the process. If it still does not work continue to the next step.
Next, you can try adding a Firewall Rule that will allow the process. On the same screen as the previous step, click Add. This will bring up the Add Rule Wizard.
Refer to the how-to guide ‘How do I set a firewall rule?’ for detailed instructions on how to create these.
Once the rules have been created, try the blocked process again.
If you are still having problems, next you can check the Default Action under the Firewall Rules section. Expand the Default Action field and verify that both the Incoming and Outgoing connections do not saying ‘Allow from/to None’. If they do, click the dropdown and change this to ‘Allow from/to Local’ or ‘Allow from/to All’.
If the blocked network device is a networked drive then proceed here.
First, obtain all of the letters from the drives being blocked (e.g. E:\, Z:\, etc.), then go to Settings, and Scan Options.
Then go to Real-Time Filter.
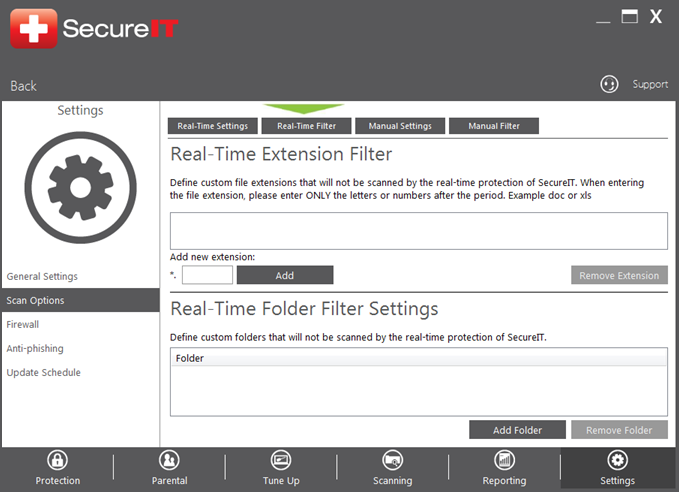
Under Real-time Folder Filter Settings, click Add Folder.
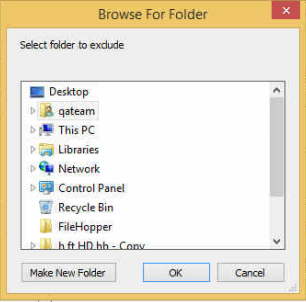
From here, add in all of the drive directories that are in question and then retest the process that is being blocked.
If at this point the process is still being blocked, call our technical support line to have a representative assist you with your troubleshooting.
If you need further support for your SecureIT product, help is only a few clicks away. Open the Management Console and click the Support link at the top right on any screen within the console.
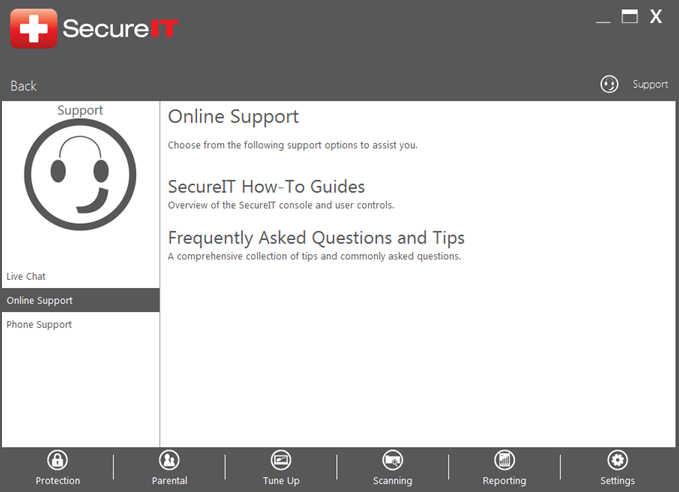
SecureIT comes with a variety of online resources and support tools to help answer most of your questions and issues, including an online resource guide plus frequently asked questions and tips.
To access any of these resources, ensure your computer is online and click on the title of the section you are interested in and you’ll be automatically taken to that resource.
SecureIT Plus users can also receive assistance directly from one of our friendly technicians. To do this, click Instant Message in the left-hand menu.

Enter your name and phone number and click Proceed to begin a live chat session with one of our technicians. They can even remotely connect to your computer to help troubleshoot issues if necessary.
SecureIT Plus customers:
If you are a SecureIT Plus customer, you will need to set your license key to allow for a reinstall on a new machine. You can do this in one of three ways:
- If you still have access to your original machine, right click on SecureIT in the system icon tray and select “Set Account For Reinstall”. You will then be redirected to your MyPortal account where you will need to choose the SecureIT Plus section, select your previous machine, and press the “Reinstall” button.
- If you do not have access to your original machine, visit myportal.securitycoverage.com and log in using your SecurityCoverage account. Once logged in you will need to navigate to the SecureIT Plus section, select your previous machine, and press the “Reinstall” button.
- Contact our support staff at 877-373-3320 and we will set your license key for reinstall.
Following any of these options will allow you to use the same license key on your new computer without needing to purchase another key
SecureIT Base customers:
If you are a SecureIT Base customer, you may use your license key to install on up to three machines. You can use the same key to install on your new computer if you have not hit the limit yet. If you have installed on three machines, or if you do not want your old unused computer to count against your limit, call our support staff at 877-373-3320 and they assist you further.
SecureIT Plus customers:
If you are a SecureIT Plus user and want to install SecureIT Plus on two machines, you will need to purchase a new license key for any additional machines beyond the first. Contact our support staff at 877-373-3320 to purchase an additional license key.
SecureIT Base customers:
If you are a SecureIT Base customer, your license key can be installed on up to three machines. You will need to contact our support staff at 877-373-3320 for a new license key in order to install on more than three computers.
To uninstall SecureIT, follow the instructions for uninstalling programs for your specific version of Windows below.
Windows XP: http://support.microsoft.com/kb/307895
Windows Vista and 7: http://windows.microsoft.com/en-us/windows-vista/Uninstall-or-change-a-program
Windows 8: http://windows.microsoft.com/en-us/windows-8/uninstall-change-program
Windows 10: http://windows.microsoft.com/en-us/windows-10/repair-or-remove-programs
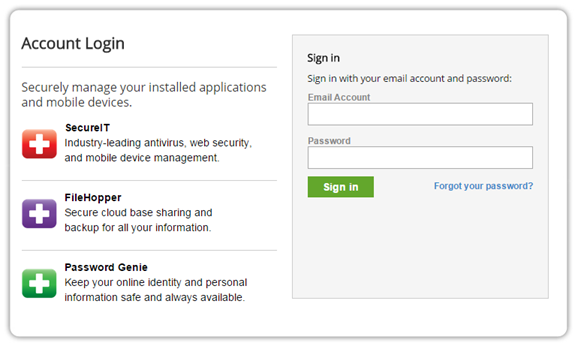
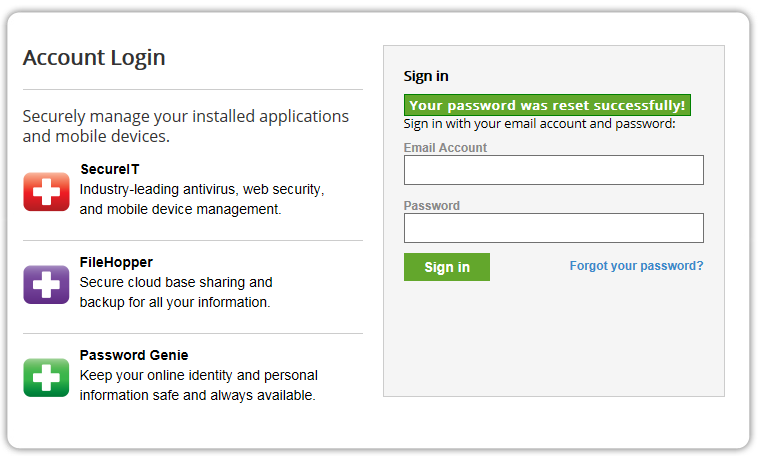
To change your account password, simply visit myportal.securitycoverage.com and click the ‘Forgot your password?’ link.
Here enter your registered email and click submit.
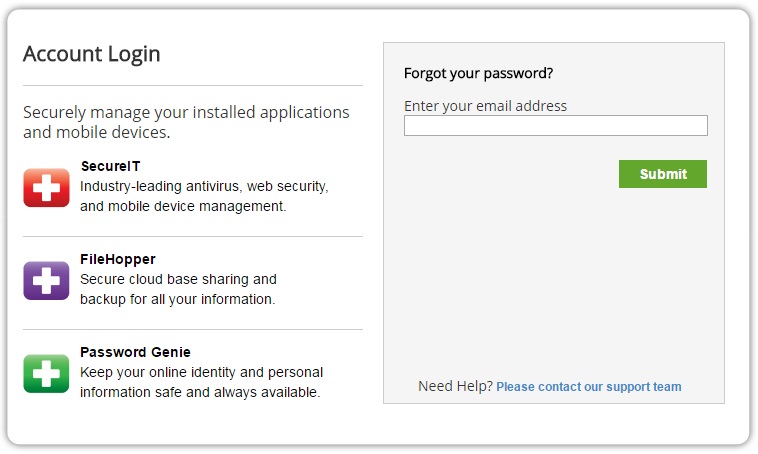
If you are entering a registered email address with SecurityCoverage, the following
screen will appear verifying the reset email was sent.

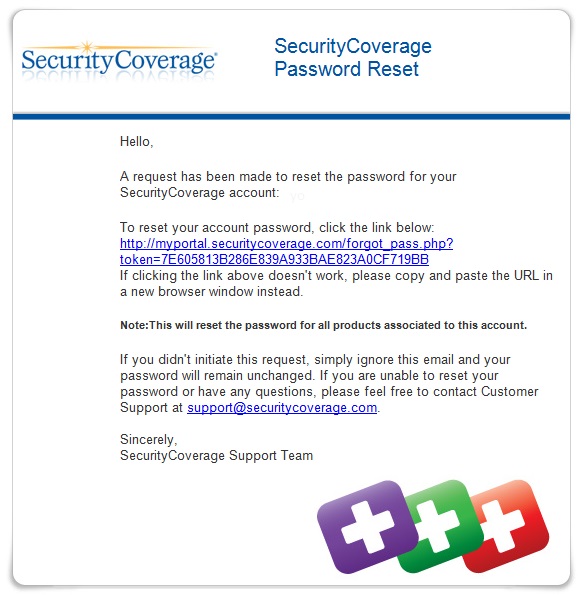
You will then receive a SecurityCoverage Password Reset email. An example is provided below.
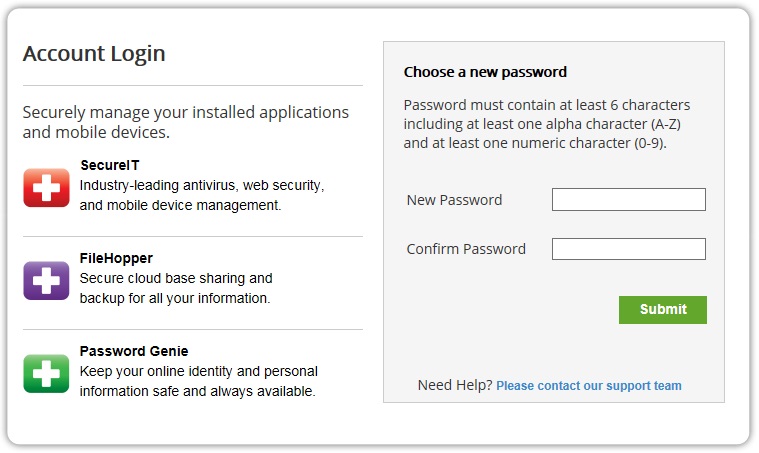
By clicking on the link provided above, you will be taken to the choose a new password screen.
Remember the password must contain at least 6 characters, including one alpha character (A-Z)
and one numeric character (0-9). It is advised you create a strong password using upper case
and lowercase letters.
When you have successfully created a new password, you will see the following:
This will change the password on all SecurityCoverage products associate with the account
and at myportal.securitycoverage.com.
To set up Parental Controls, open the Management Console and click on the Parental Controls panel.
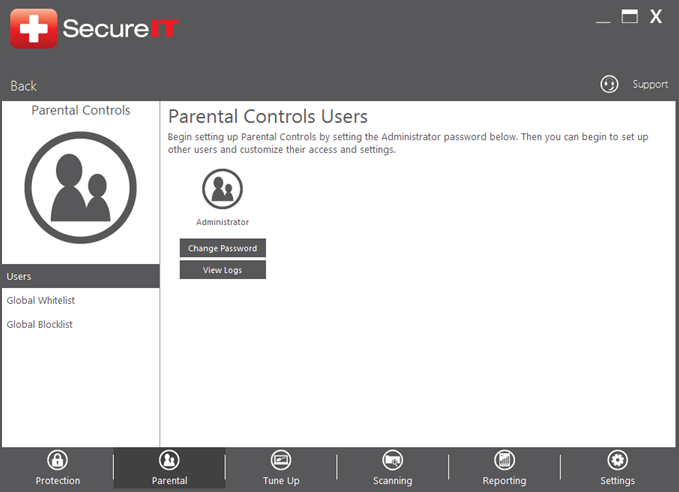
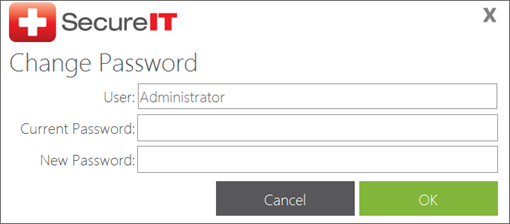
To begin, you will need to setup the administrator password. Click on ‘Change Password’ within the administrator user, then create a password for administrator access and click OK*. Do not share this password except with other users whom are allowed to be parental control administrators.
*Note: When setting up Parental Controls for the first time, the Current Password for the Administrator account can be left blank, since you have not created a password yet. –
Once the administrator password has been setup, you can create new users and set the desired control options.
- Click the “Add new user…” button.
- You will be prompted to login as the Administrator. Enter the administrator password, and then click OK.
- Then click the “Add new user…” button in the console. This will open the Add User window as below:
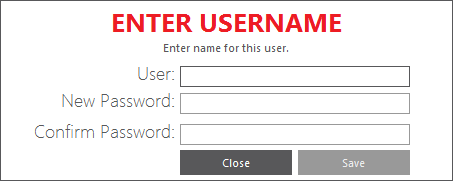
- Enter the new user and a password. Repeat the password, and then click OK. You will now see the new user listed in the main Users screen.
- Click on the Settings button for the new user. Enter the administrator password when prompted and click OK. The Settings options for this user will appear:
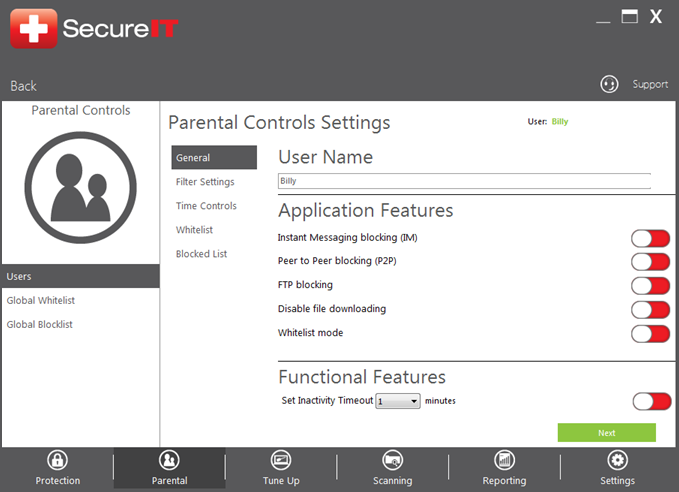
You may adjust the settings for this user to your preferences. For more details on the Parental Control settings, please see the User Guide.
In some cases you may find that a website is blocked for a Parental Controls user due to a related category being chosen as blocked. For instance, you may wish to block your child from accessing social media sites, but still want to allow some access to their Facebook account. You can specify particular sites that should be allowed for a user regardless of their category settings.
To begin, open the Management Console and click the Parental Controls panel. Then click the Settings button for the user you’d like to edit, and then click the Whitelist tab near the top of the window.
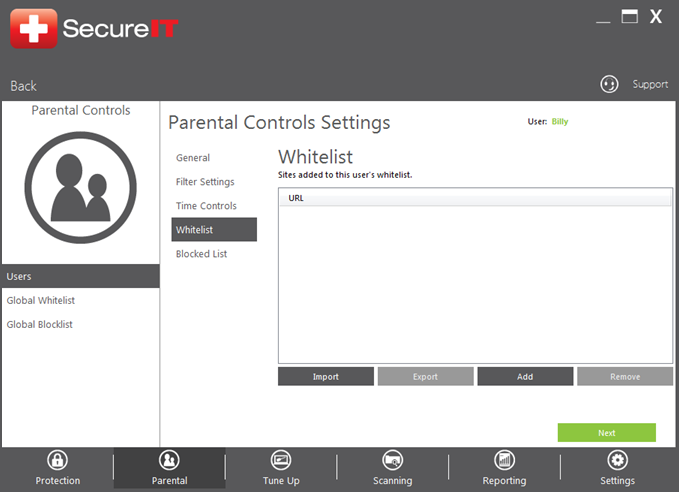
To add a website, click the Add button. The ‘Add URL Domain’ window will appear.
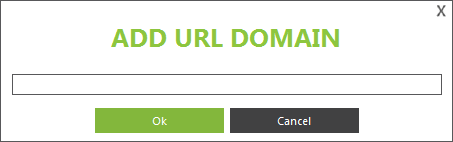
Enter the desired website URL and then click OK. The website will now appear in the Whitelist screen, allowing access to the web site even if a category would normally block access.
Time Controls allows you to specify when a particular user can or cannot use the Internet.
To enable Time Controls, open the Management Console and click on the Parental Controls panel. Then click the Settings button for the user you’d like to create Time Controls for. In the Settings screen, click the Time Controls tab near the top of the window.
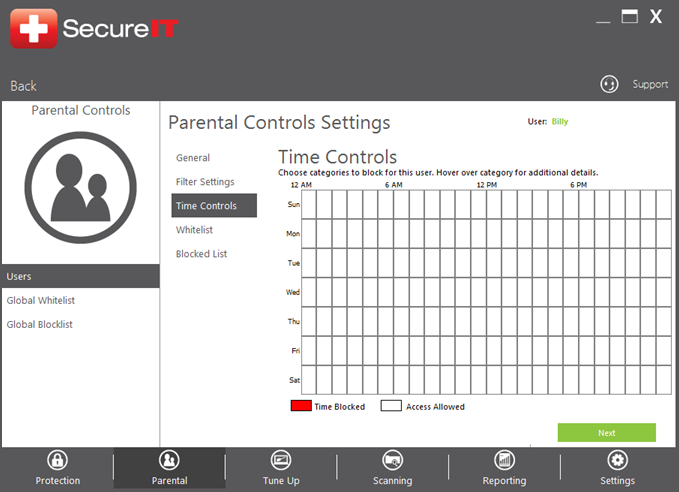
Each block represents one hour. Simply click the time blocks that you do not want the user to be able to access the internet, and it will be blocked off for that user.
You can highlight entire days, only certain time periods, or even the entire grid to disallow internet access completely.
If your computer has been slowing down, you may have bloatware programs installed on it. SecureIT Plus features a scanning tool that will detect and assist in the removal of these programs. If possible, SecureIT will remove them automatically, but if the program prevents this it will force the program’s uninstaller to launch. To use the tool, follow these steps:
Open the SecureIT Console and navigate to Tune Up:
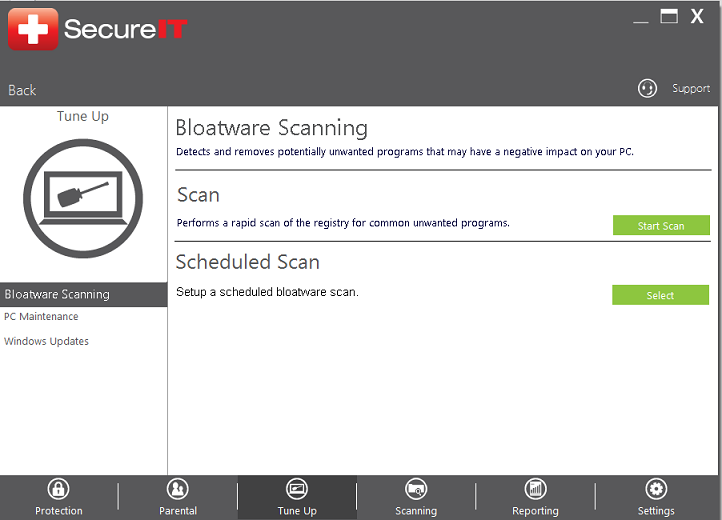
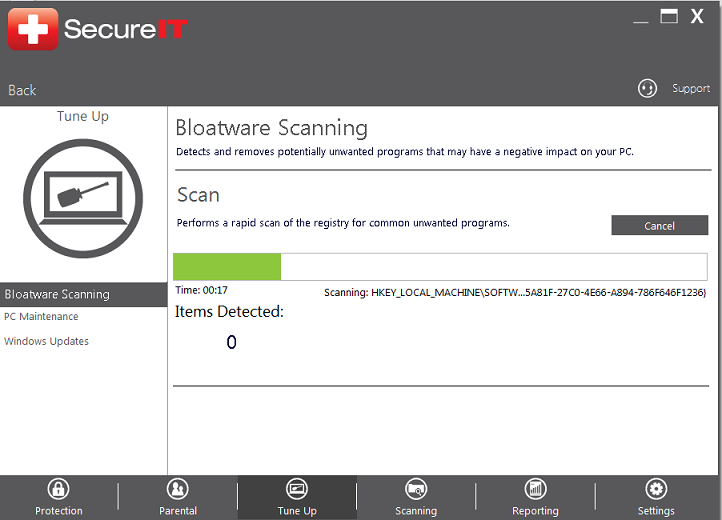
Either click ‘Scan’ or setup a Scheduled Scan:

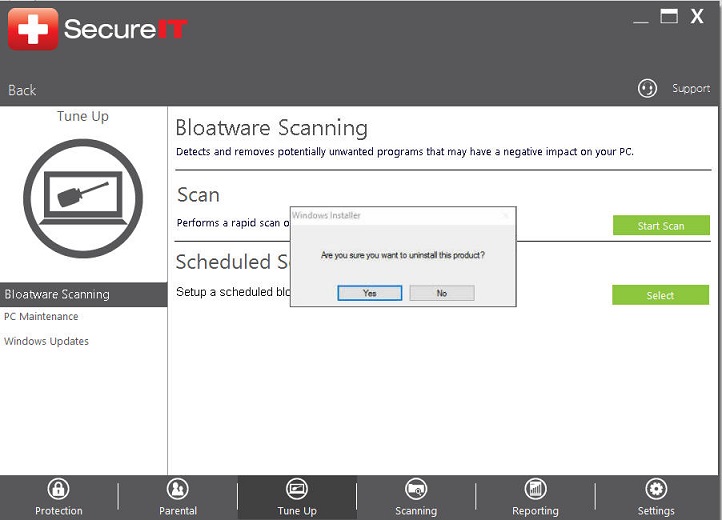
If you have bloatware programs installed you will receive the following prompt:
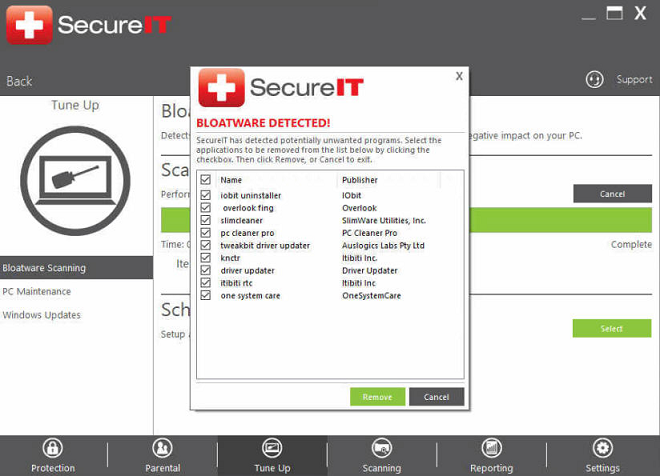
Click the box to the left of each program you wish to remove to select it. Alternatively, click the box at the very top left to select all:
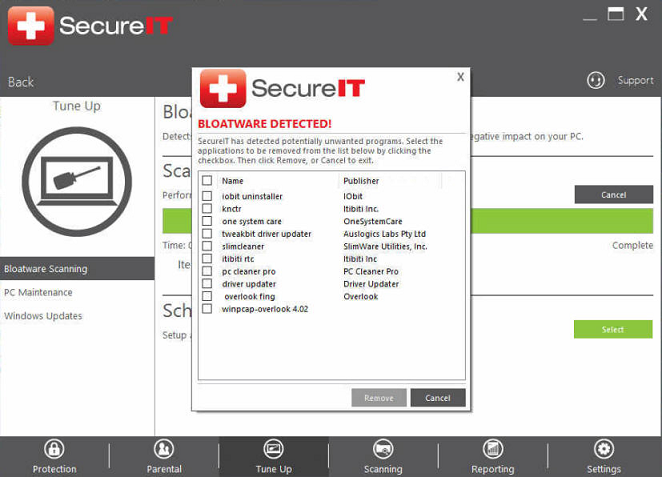
Once the desired programs have been selected, click Remove:
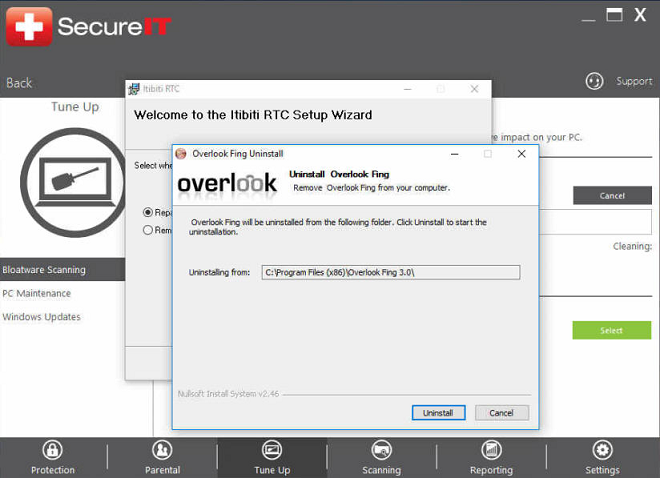
If possible, SecureIT will remove this program with minimal interaction but some programs may require you to navigate through the uninstall process to complete the removal.
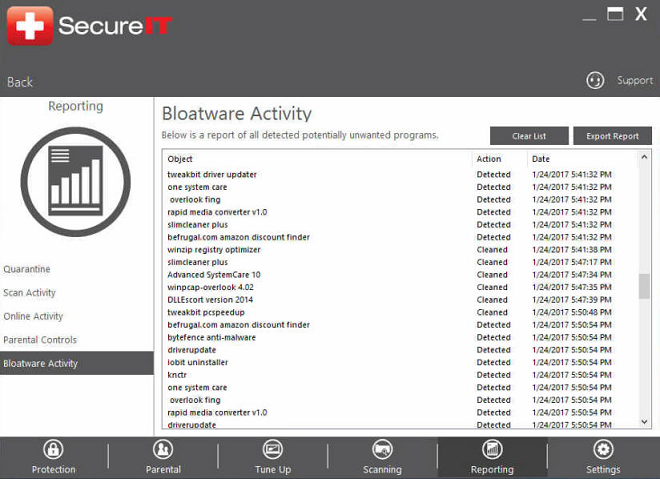
Bloatware Scanning activity and results can be tracked under Reporting -> Bloatware Activity. Items will be displayed as: Detected, Cleaned or Failed.
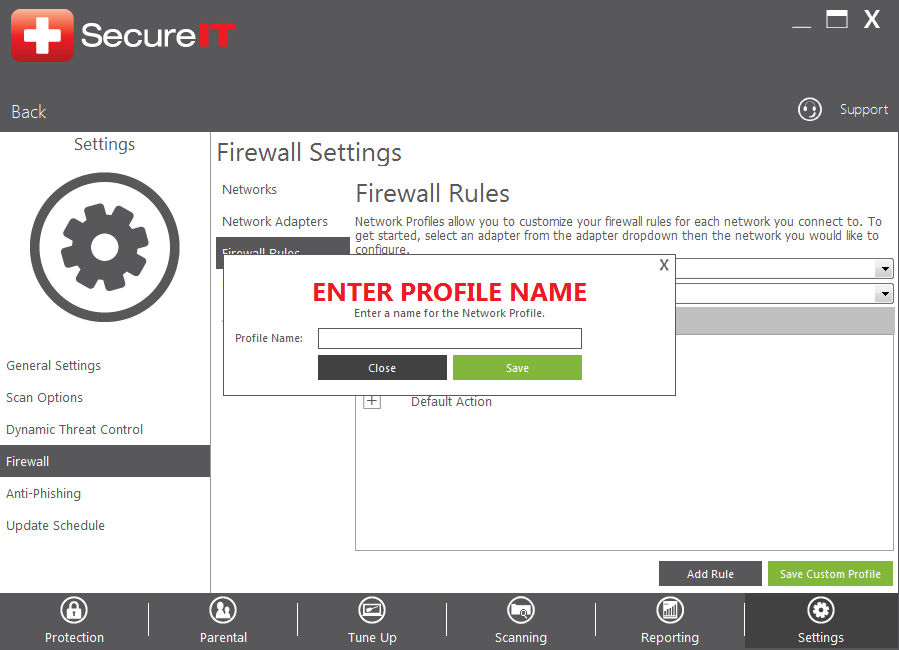
To create a Network Profile open the Management Console and click on the Settings panel. Next click Firewall in the left-hand menu, then the Firewall Rules tab on the side.
Click Save Custom Profile, which will bring up the ‘ENTER PROFILE NAME’ dialogue box. Enter in the name of the new custom profile and click Save. This will save the profile and automatically apply it to the currently active network.