Operating Systems (Includes both 32 and 64-bit):
Windows 7 Service Pack 1 and above.
Windows 8.1 All Editions
Windows 10 All Editions
Windows 11 All Editions
Mac 10.11 +
System Memory: 128MB of RAM
Available Hard Drive Space: 200MB
Internet Connection: High Speed
The FileHopper Desktop Client can be downloaded here: http://products.securitycoverage.com/download/filehopper.
Once the FileHopper Desktop Client is downloaded to your computer, click on the FileHopper.exe file to begin installing the client.
Note: It is recommended that you close all other open applications before installing FileHopper Desktop Client.
To begin the installation, follow the easy steps in the setup wizard. On the Online Registration Screen, enter the e-mail address and password you used when you registered FileHopper on your mobile device.
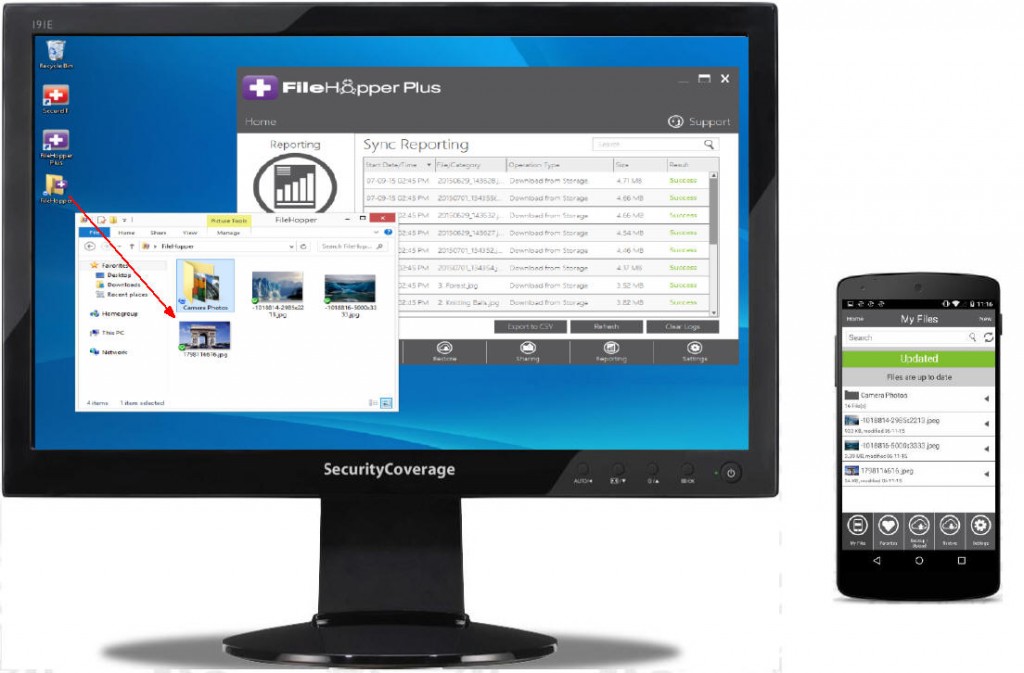
Uploading files to FileHopper from your computer is easy! Simply open up your FileHopper folder that’s on your desktop and drag and drop the file you want to upload into the folder. After your file is uploaded on your desktop it will sync over to your mobile device!
To upgrade your storage capacity, navigate to the Upgrade Tab in your FileHopper Console.
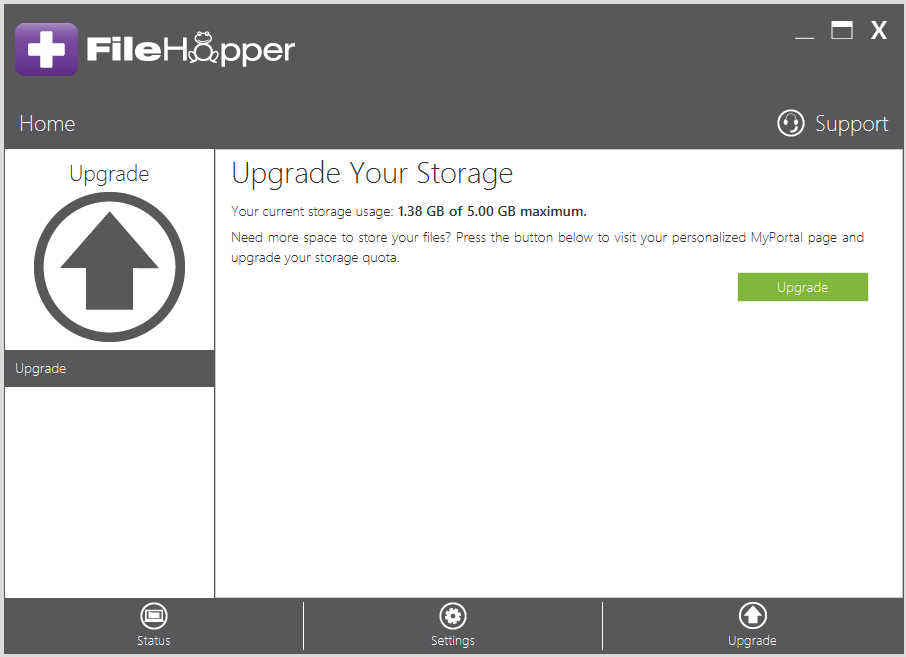
Click the Upgrade button. This will launch an internet browser session and log you into myportal.securitycoverage.com.
If you’ve installed the free version FileHopper, you have 2GB of space available. You can upgrade to 5GB through the Google Play Store. To purchase 50GB and 250GB of space, contact our customer support at 877-373-3320.
If you received FileHopper from a service provider, please contact them to upgrade from 5GB to 50GB or 250GB of space.
![]()
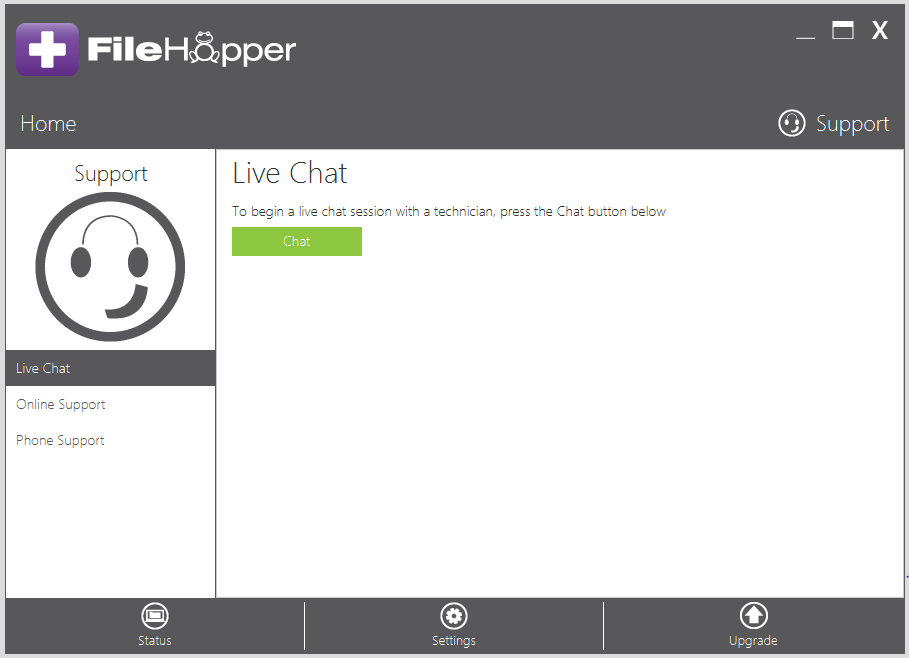
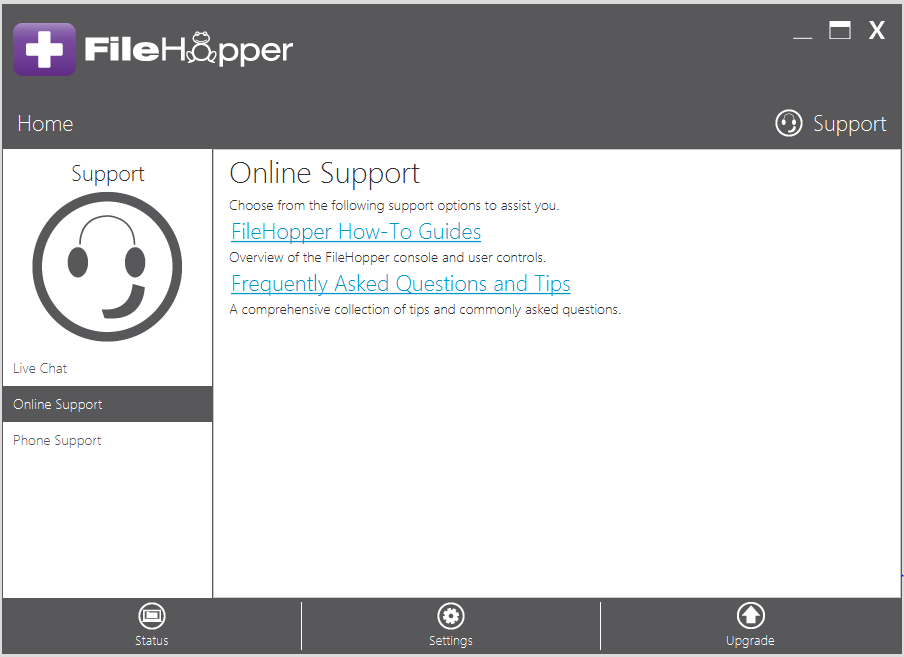
The link to the Support Tab is located in the upper right-hand corner of your console. You can get answers to all of your FileHopper questions. If at any time you are not able to find what you are looking for, you can chat with a support technician.
Live Chat: Allows you to immediately chat with a support technician at any time.
Online Support: Provides links to our online resources including user guides and frequently asked questions.
Phone Support: Our technical support staff is available by phone.
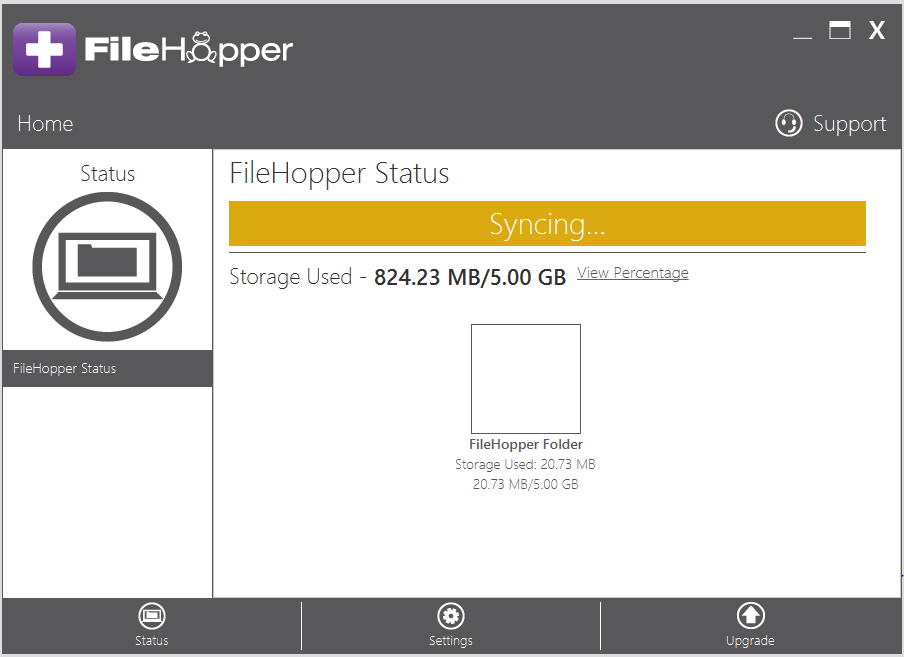
You can see that FileHopper is currently syncing through the console and from the overlay icon on the FileHopper Folder located on your desktop.
On the Status Tab of the console, when FileHopper is syncing, the status bar turns yellow and shows “Syncing”.
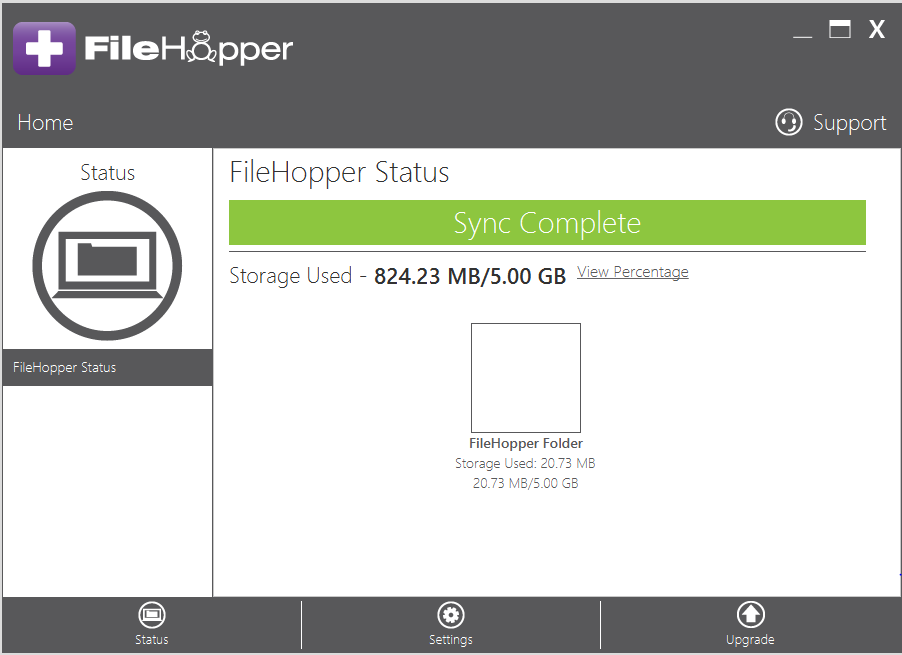
When syncing is complete, the status bar turns green and shows “Sync Complete”.
The overlay icon on the FileHopper folder located on your desktop shows the following icon when it is syncing:

When syncing is complete, the icon appears as follows:

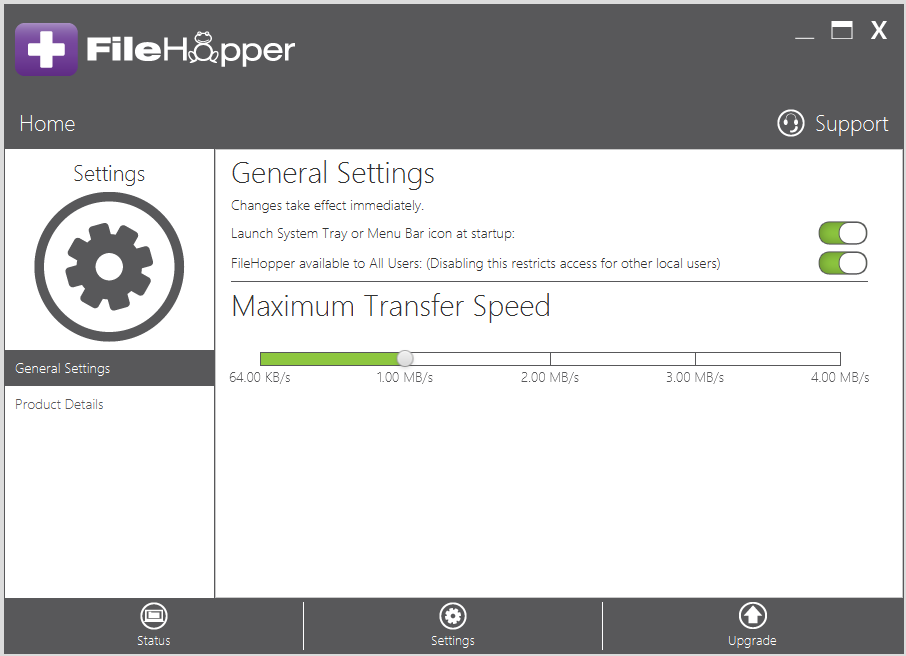
You can set limits for the rate in which FileHopper transfers files from your machine to storage, thus using less internet bandwidth. On the General Settings Tab of the console you will find a slider-bar for the Maximum Transfer Speed. Simply click and slide to the preferred speed.
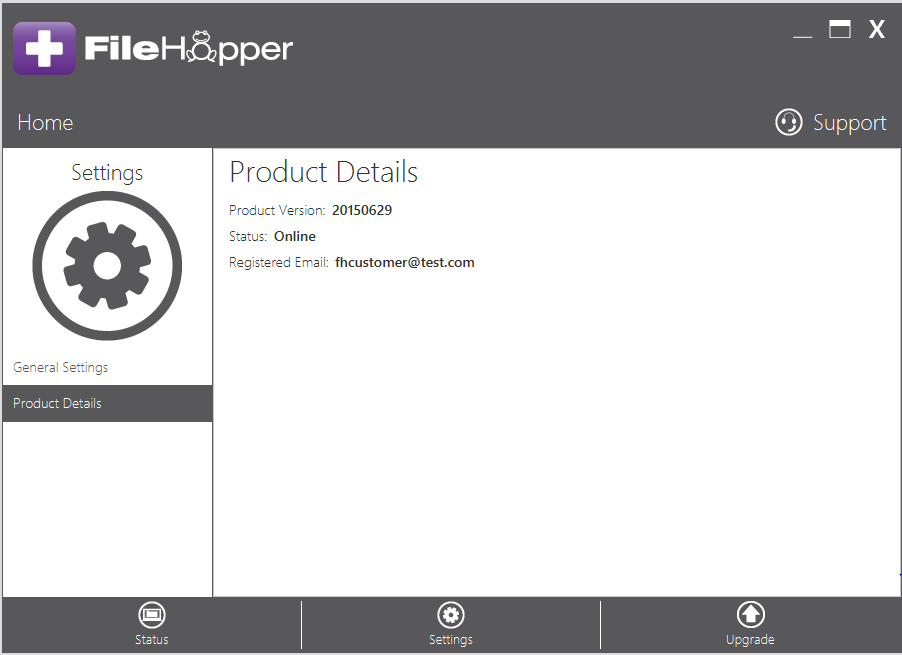
Navigate to the Settings Tab. Click the Product Details menu item on the left-hand side of the page. This will display the details of your installed FileHopper, including the product version.
The following is a quick overview of how to install FileHopper Plus with the default values. For more detailed information regarding the different options, please refer to the FileHopper Plus User Manual.
Whether you purchased FileHopper Plus from an internet shop site or it is provisioned to you from one of our partners, you will receive an email with a download link and instructions on registering your product(s).
“Run” the FileHopper.exe file.
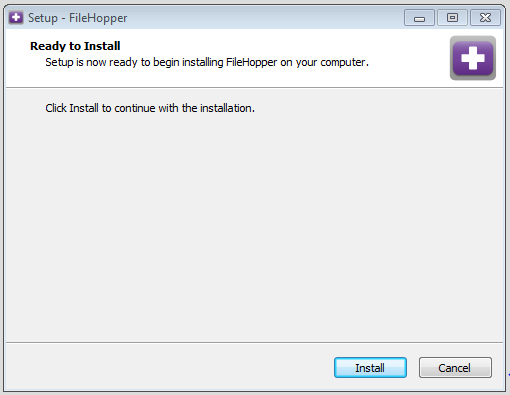
Click “Install”.
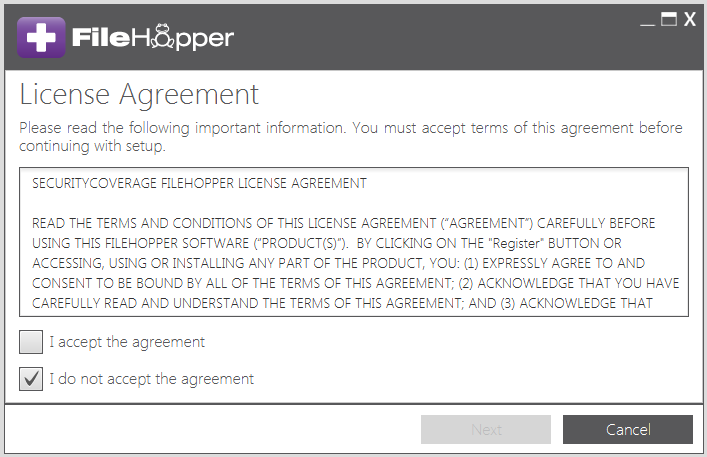
You must accept the License Agreement to continue.
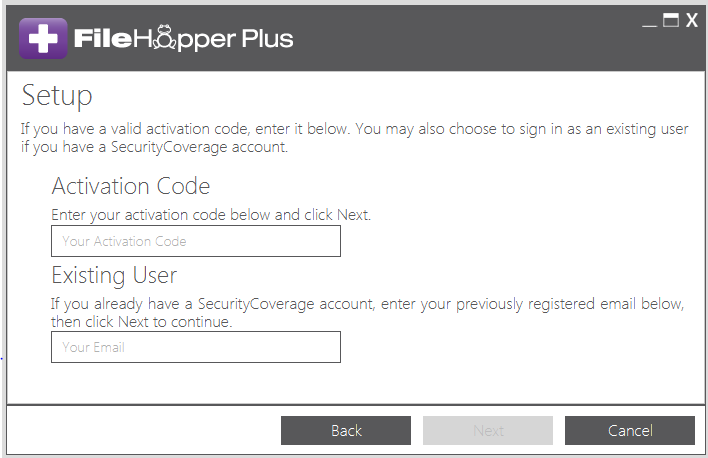
Enter the email you used when registering on the go.securitycoverage.com website and click “Next”.
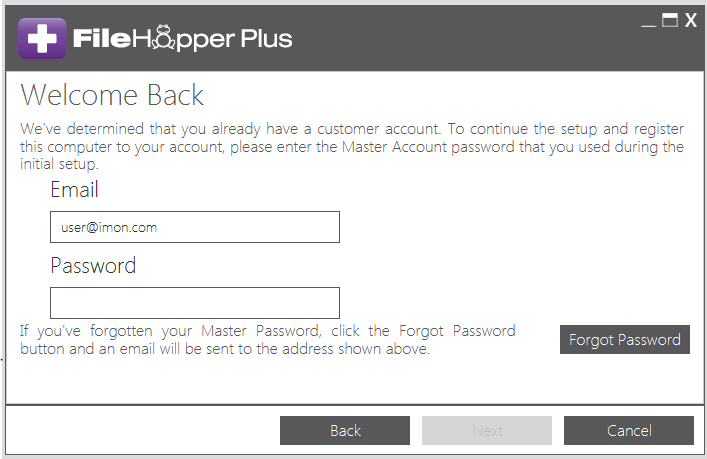
Enter the password used when registering your account. Click “Next” to continue.
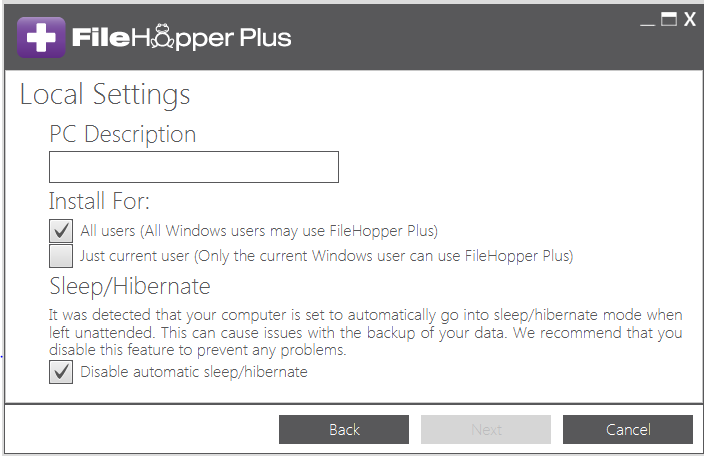
Enter in a PC Description.
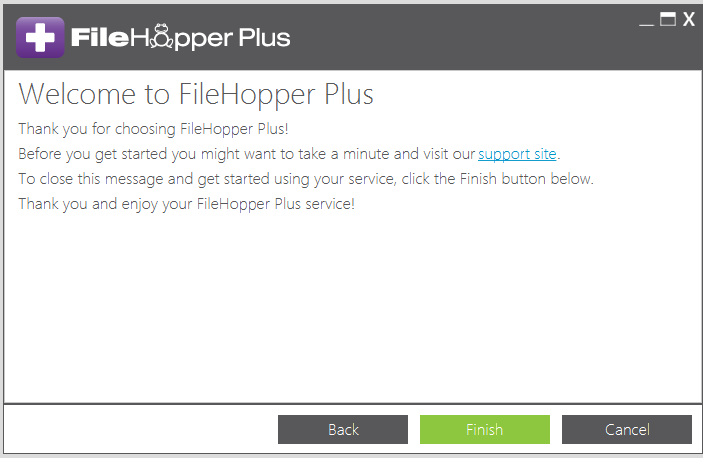
Click Finish to complete the install.
Operating Systems (Includes both 32 and 64-bit)
Windows 7 Service Pack 1 and above.
Windows 8.1 All Editions
Windows 10 All Editions
Windows 11 All Editions
Mac 10.11 +
System Memory: 128MB of RAM
Available Hard Drive Space: 200MB
Internet Connection: High Speed
The following is a quick overview of how to install FileHopper Plus with the default values. For more detailed information regarding the different options, please refer to the FileHopper Plus User Manual.
Whether you purchased FileHopper Plus from an internet shop site or it is provisioned to you from one of our partners, you will receive an email with a download link and instructions on registering your product(s).
“Run” the FileHopper.exe file.

Click “Install”.

You must accept the License Agreement to continue.

Enter the Activation Code that you received in an email after purchasing FileHopper Plus.
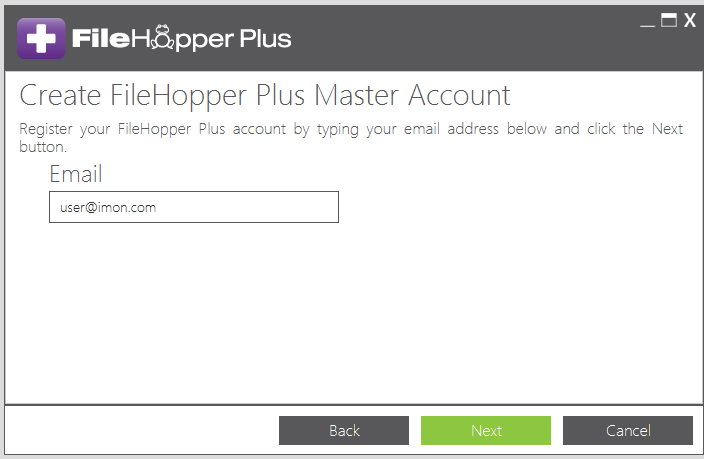
Enter the email you would like to use to register FileHopper Plus. This is the email in which you will receive notifications regarding your backup.
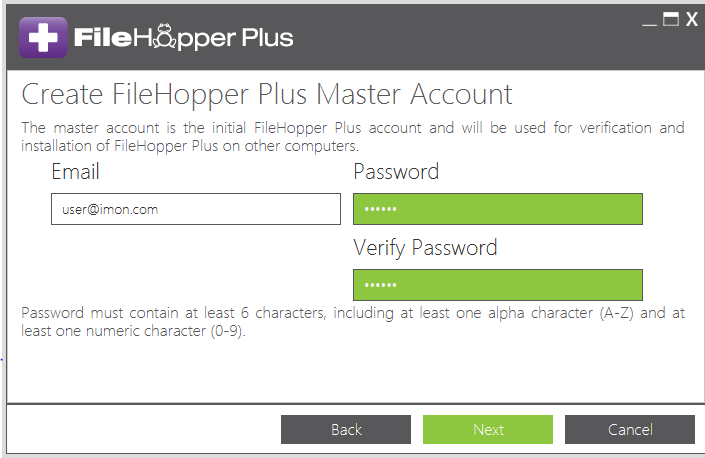
Create a Password and Verify that Password.

Enter in a PC Description.

Click Finish to complete the install.
If you want to backup all of a certain type of file on your machine, such as all photos, music, or documents, you can do so by selecting Categories. Navigate to the Backup Tab. You will see all of the Available Categories.
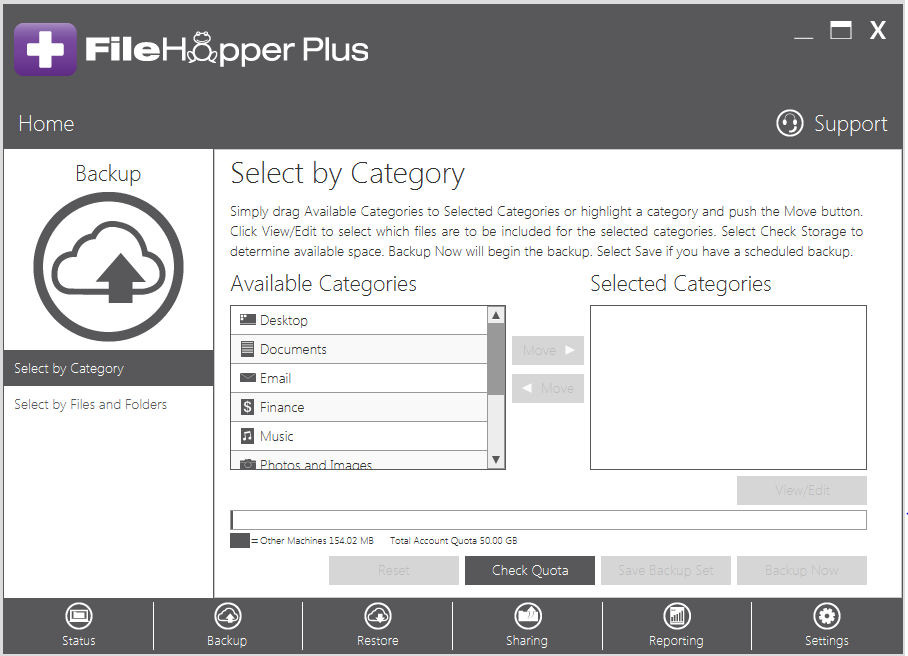
Simply drag and drop these to Selected Categories or click on the category and select “Move”.
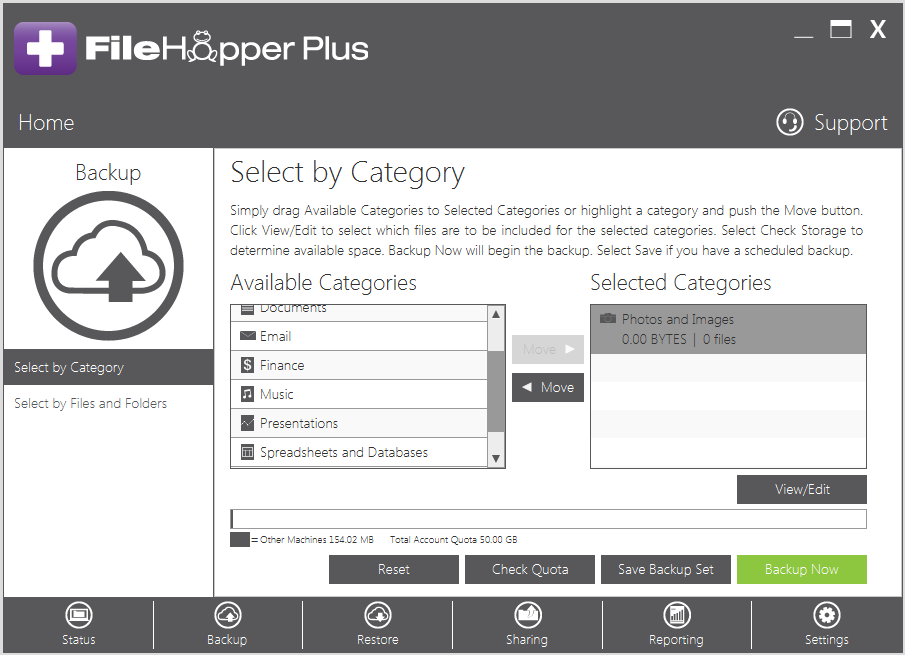
If you would like to see all files that are included in that selected category, select View/Edit.
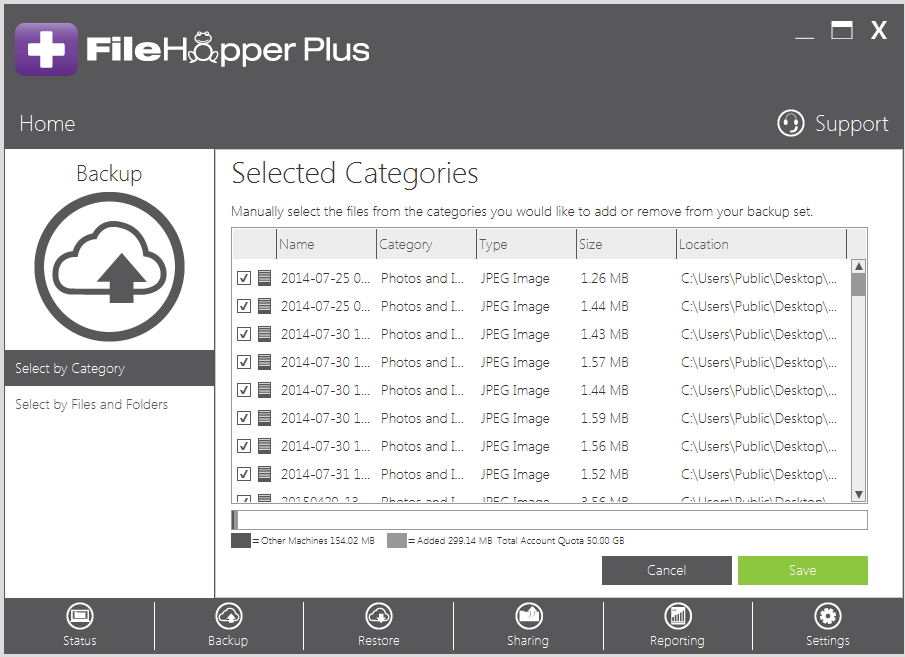
You will see that all files are selected. To remove files from backing up under this category, simply uncheck the box next to the files. Click “Save” when complete or “Cancel” to exit this screen without saving. You will be returned to the main Backup screen.

After selecting the categories in which you wish to backup, you will have the following options:
Reset: If you click this, you will be discarding the changes you made since the last time you Saved or Backed up.
Check Quota: This option allows you to scan your machine for all files matching the selected categories. It will return with the number of files and the total file size of each selected category. It will also update the storage bar with the amount of storage space impacted by your selection.
Save Backup Set: This option allows you to save your selection without kicking off a backup immediately. It also does not perform a scan at the time that you click Save, therefore allowing you to quickly choose categories to be backed up at the next scheduled backup time (if using automatic backups, these files will be backed up at the next auto backup)
Backup Now: This option will start the backup immediately regardless of a scheduled backup.
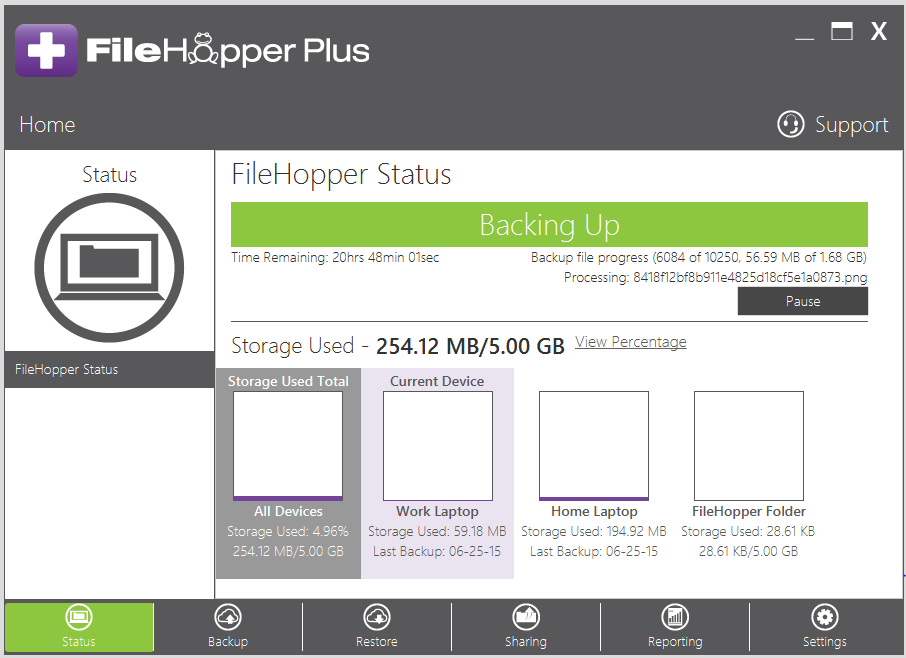
When your backup starts, you will the backup progress in the Status screen.
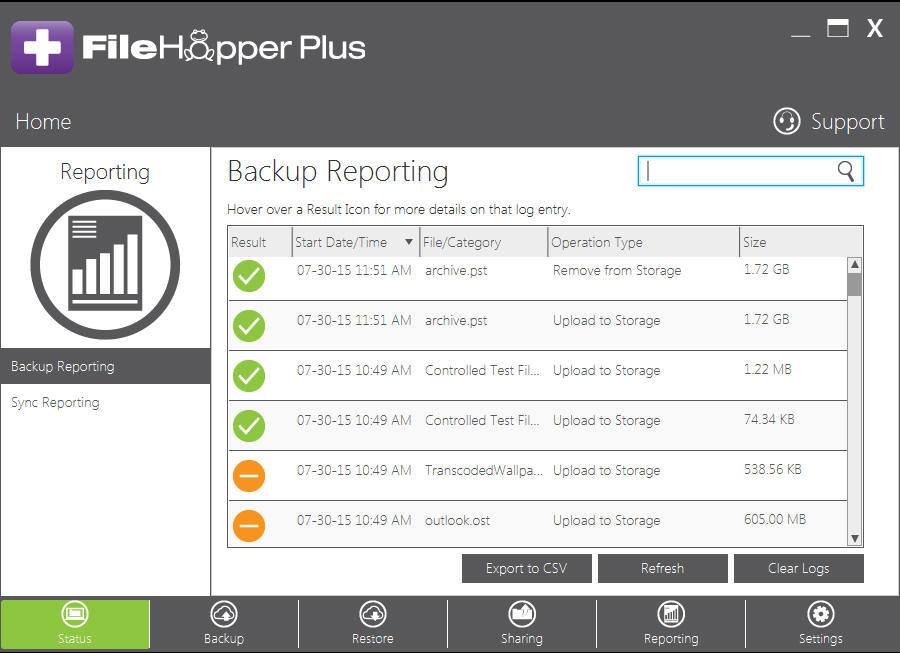
When backup is complete, you will see which files backed up in the Reporting Tab.
If you have backed up your data using categories, you can easily restore all of the data in those categories by using Mass Restore.
Select the Device to Restore From.
Located in the upper right-hand corner of the page, is a drop-down menu. Use this to select which device you wish to restore from. The drop-down menu defaults to the machine that you are currently on.
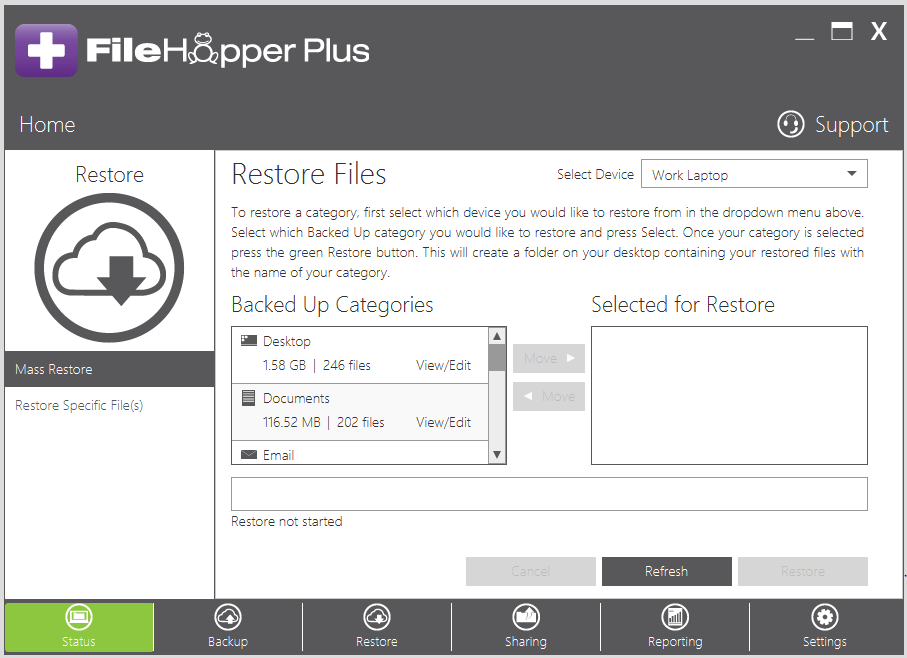
To restore a category, simply drag and drop that category from “Backed Up Categories” (right pane) to “Selected for Restore” (left pane) or highlight the category and click the “Move” button.
Click “View/Edit” to see all of the backed up files associated with each category.
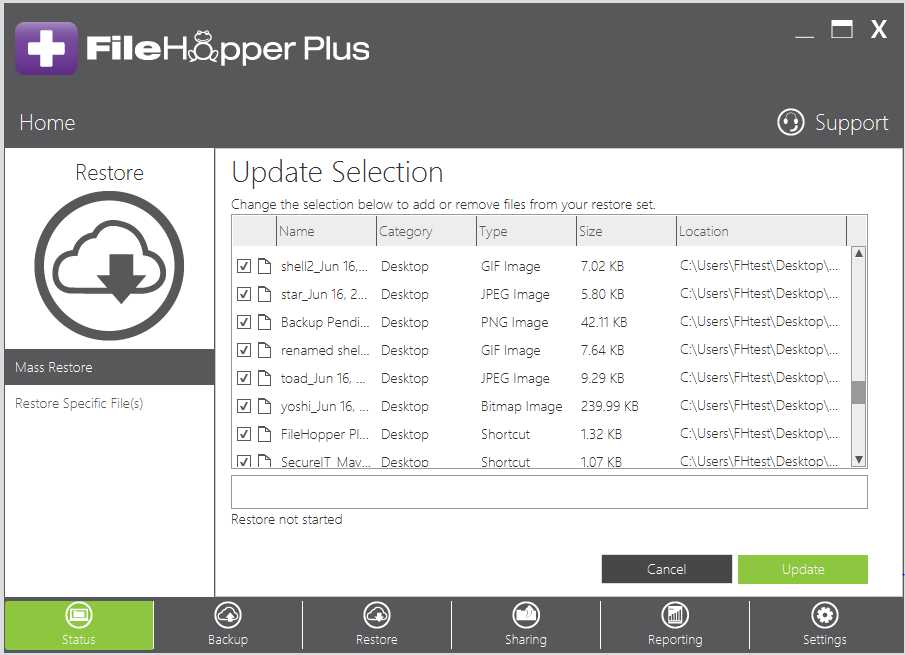
You may uncheck any file(s) in this list if you would like to remove it from the restore. You must click “Update” after deselecting files in order for FileHopper to NOT restore them. Click “Cancel” if you do not wish to save or make any changes to the restore selections, and you will be returned to the “Mass Restore” Screen.
Click “Restore” to start the restore process. A pop-up will appear in which you can specify where you want the files to be restored to. If you select the default location, it will restore to your desktop. The files will be restored into a folder with the name of the category you restored. This folder will be located in the location you selected.
In the Status Tab, you can see all of the devices in which FileHopper is installed with your account as well as the FileHopper Folder.
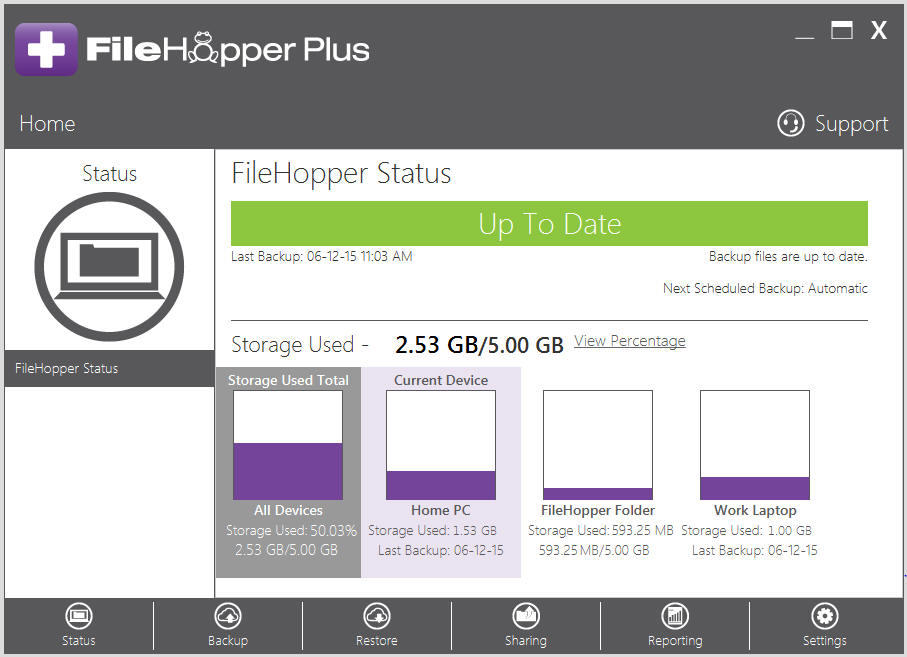
In the middle of the screen, you can find the Storage Used and your Storage Quota. You can toggle between size and percentage by clicking “View Percentage/ View Size”.
Boxes below the Storage Used represent each machine in which FileHopper is installed with your account. The box furthest to the left represents your total storage. Next to that is your current device. Also shown is the FileHopper folder, as this also uses your storage. The purple fill is a graphical representation of the amount of space each device is using of your total storage.
On each machine in which FileHopper is installed using your account, you can use the FileHopper folder to quickly transfer files from one machine to another. If you are on a mobile device with FileHopper, you can sync files from your My Files to the FileHopper Folder on your desktop. To utilize FileHopper on your desktop, simply drag files into your FileHopper folder.
While the files are syncing you will see the icons change on the FileHopper Folder.

The blue icon indicates that the files are syncing.

When syncing is complete, the green icon will appear.

You can then access them from any machine you have FileHopper Plus on, from your FileHopper Plus Portal, or from any mobile device with FileHopper installed.
Important – The contents of the FileHopper folder will count against your quota and will automatically be synced to the server. These files will also be available through the FileHopper Plus Portal at http://myportal.securitycoverage.com.
![]()
The link to the Support Tab is located in the upper right-hand corner of your console. You can get answers to all of your FileHopper questions. If at any time you are not able to find what you are looking for, you can chat with a support technician.
Live Chat: Allows you to immediately chat with a support technician.

Online Support: Provides links to our online resources including user guides and frequently asked questions.

Phone Support: Our technical support staff is available by phone.

Located in the upper right-hand corner of the page, is a drop-down menu. Use this to select which device you wish to restore from. The drop-down menu defaults to the machine that you are currently on.
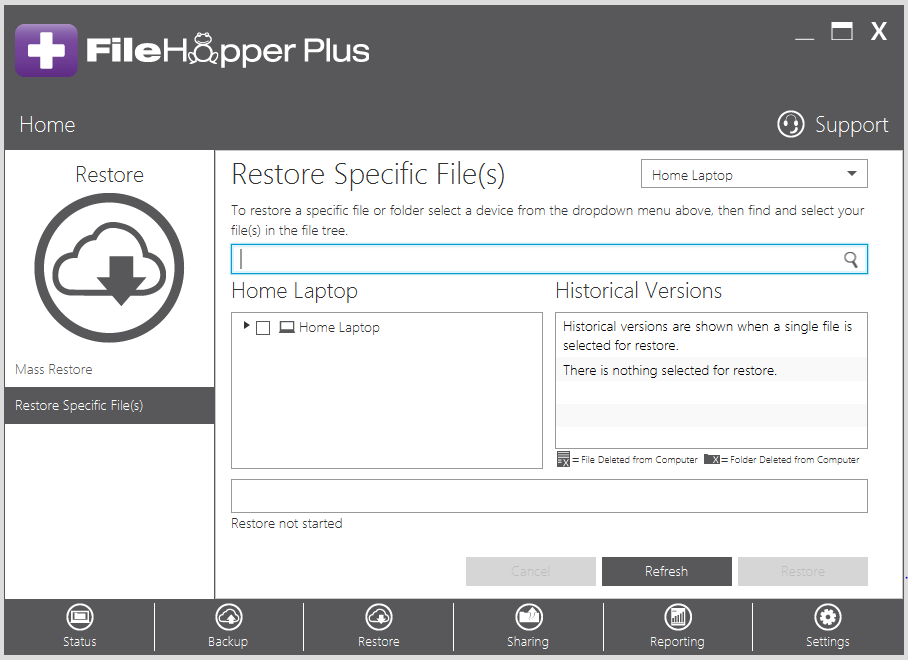
If you know all or part of the folder or file name in which you wish to restore, you may enter that into the search bar. Click the magnifying glass to start the search. The search results will appear in the left-hand pane.
You can also navigate through the folder structure of your backup. Select the File(s) or Folder(s) you wish to restore by clicking the checkbox(es). Files and folders that have an X in their icon have been deleted from the computer, but may still be restored.
![]()
If you have Historical Versioning enabled in Settings, you will be able to restore up to the last 5 versions of your file. This is only available if you are restoring a single file. If you are restoring multiple files, the latest versions will be restored.
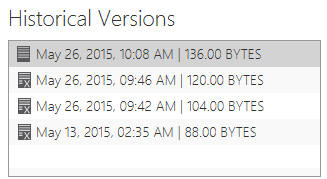
Select which historical version you wish to restore by highlighting that version.
Once you have selected your Folder(s) and/or File(s), click Restore. You may be prompted to select a location and/or rename the file if it already exists in that location.
If you would like to backup certain files or folders, navigate to the Backup Tab and click Select by Files and Folders.
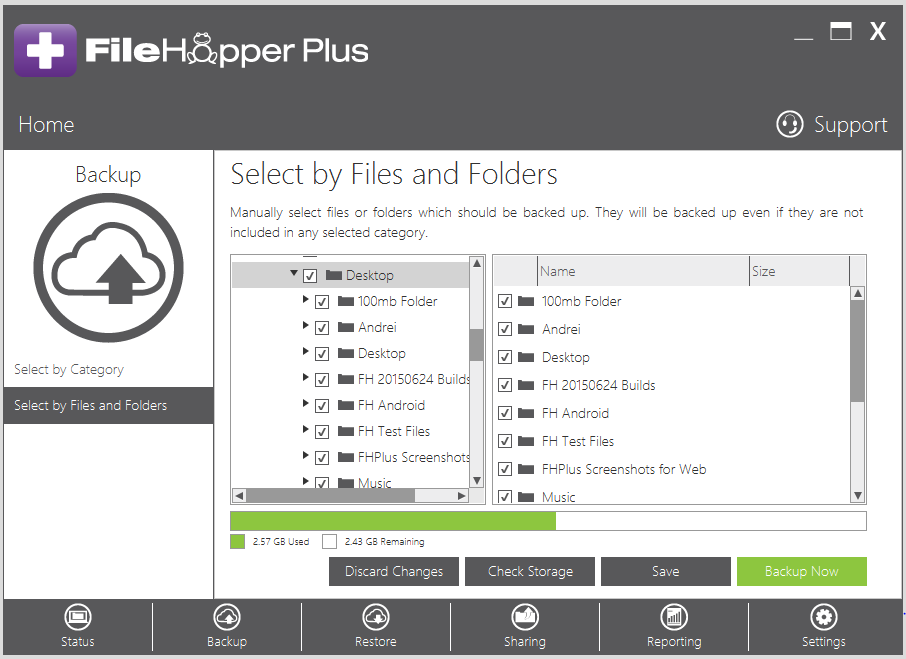
Here you can select which files/folders you wish to backup by simply navigating through your file structure and checking the boxes next to each item you want to include. Files that have been backed up previously will have the FileHopper icon next to the file name as shown below:
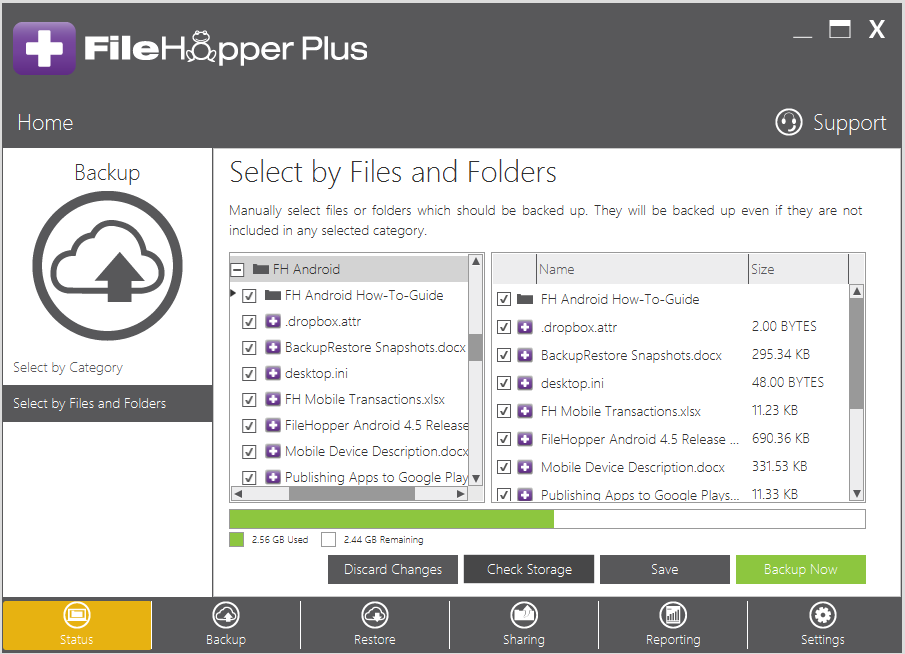
After selecting the files/folders in which you wish to backup, you will have the following options:
Reset: If you click this, you will be discarding the changes you made since the last time you Saved or Backed up.
Check Quota: This option allows you to update the storage bar with the amount of storage space impacted by your selection.
Save Backup Set: This option allows you to save your selection without kicking off a backup immediately. These files/folders will be backed up at the next scheduled backup time (if using automatic backups, these files will be backed up at the next auto backup)
Backup Now: This option will start the backup immediately regardless of a scheduled backup.
When your backup starts, you will the backup progress in the Status screen.

When backup is complete, you will see which files backed up in the Reporting Tab.


